Want to preserve your family recipes forever? Digitizing them is the best way to protect these treasures from damage, share them easily, and access them anytime. Here’s how you can do it:
-
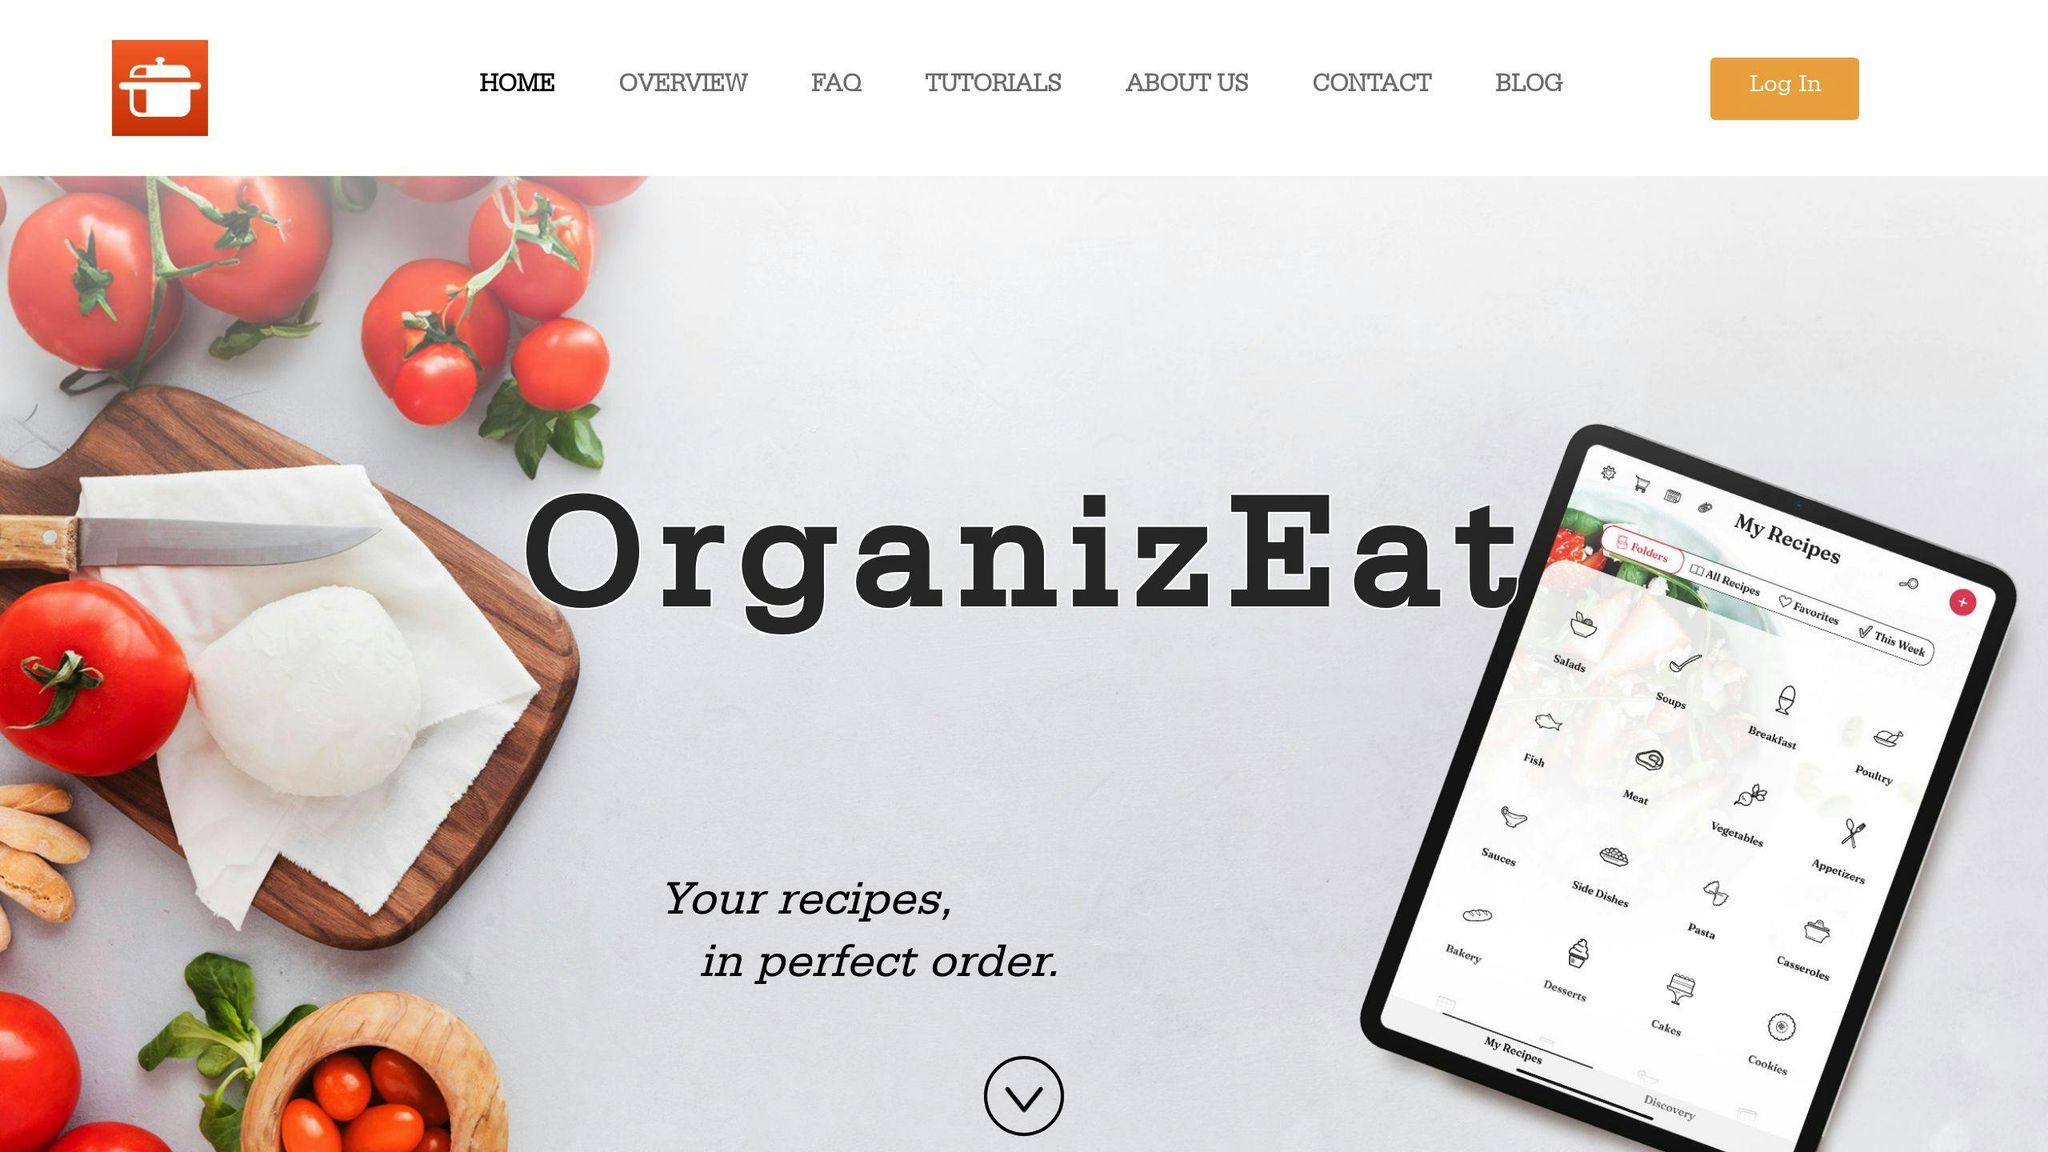
- Use Mobile Apps: Apps like Adobe Scan and OrganizEat can scan handwritten or printed recipes into digital files.
-
- Try a Home Scanner: For high-quality scans of delicate or detailed recipes, a flatbed scanner works best.
-
- Use Recipe Management Tools: Apps like OrganizEat, Paprika, or CookBook let you organize, edit, and share recipes effortlessly.
-
- Store in the Cloud: Platforms like Google Drive and Dropbox ensure your recipes are safe and accessible anywhere.
-
- Take Photos: Use your smartphone to quickly capture recipes while keeping their original charm.
-
- Type Recipes Manually: Perfect for faded or annotated recipes that need extra care.
-
- Use a Digital Camera: Great for high-detail preservation of fragile or unique recipe layouts.
Quick Comparison:
| Method | Best For | Cost | Time Investment | Quality | Ease of Use |
|---|---|---|---|---|---|
| Mobile Apps | Quick scans, portability | Free-$9.99/mo | Low | Good | Very Easy |
| Home Scanner | Large collections, quality | $100-300 | Medium | Excellent | Moderate |
| Recipe Tools | Organization, meal planning | Free-Premium | Medium | Good | Easy |
| Cloud Storage | Sharing, backup | Free-$10/mo | Low | Original | Easy |
| Photo Method | Instant capture | Free | Very Low | Fair | Very Easy |
| Manual Typing | Editable, detailed versions | Free | High | Perfect | Moderate |
| Digital Camera | High-detail preservation | $200-500 | Medium | Very Good | Moderate |
Choose the method that works best for your collection or combine them for the ultimate recipe archive. Start today to preserve your family’s culinary history!
From Handwritten Recipe Cards to a Printed Cookbook: Easy Steps
Method 1: Using Mobile Apps to Scan Recipes
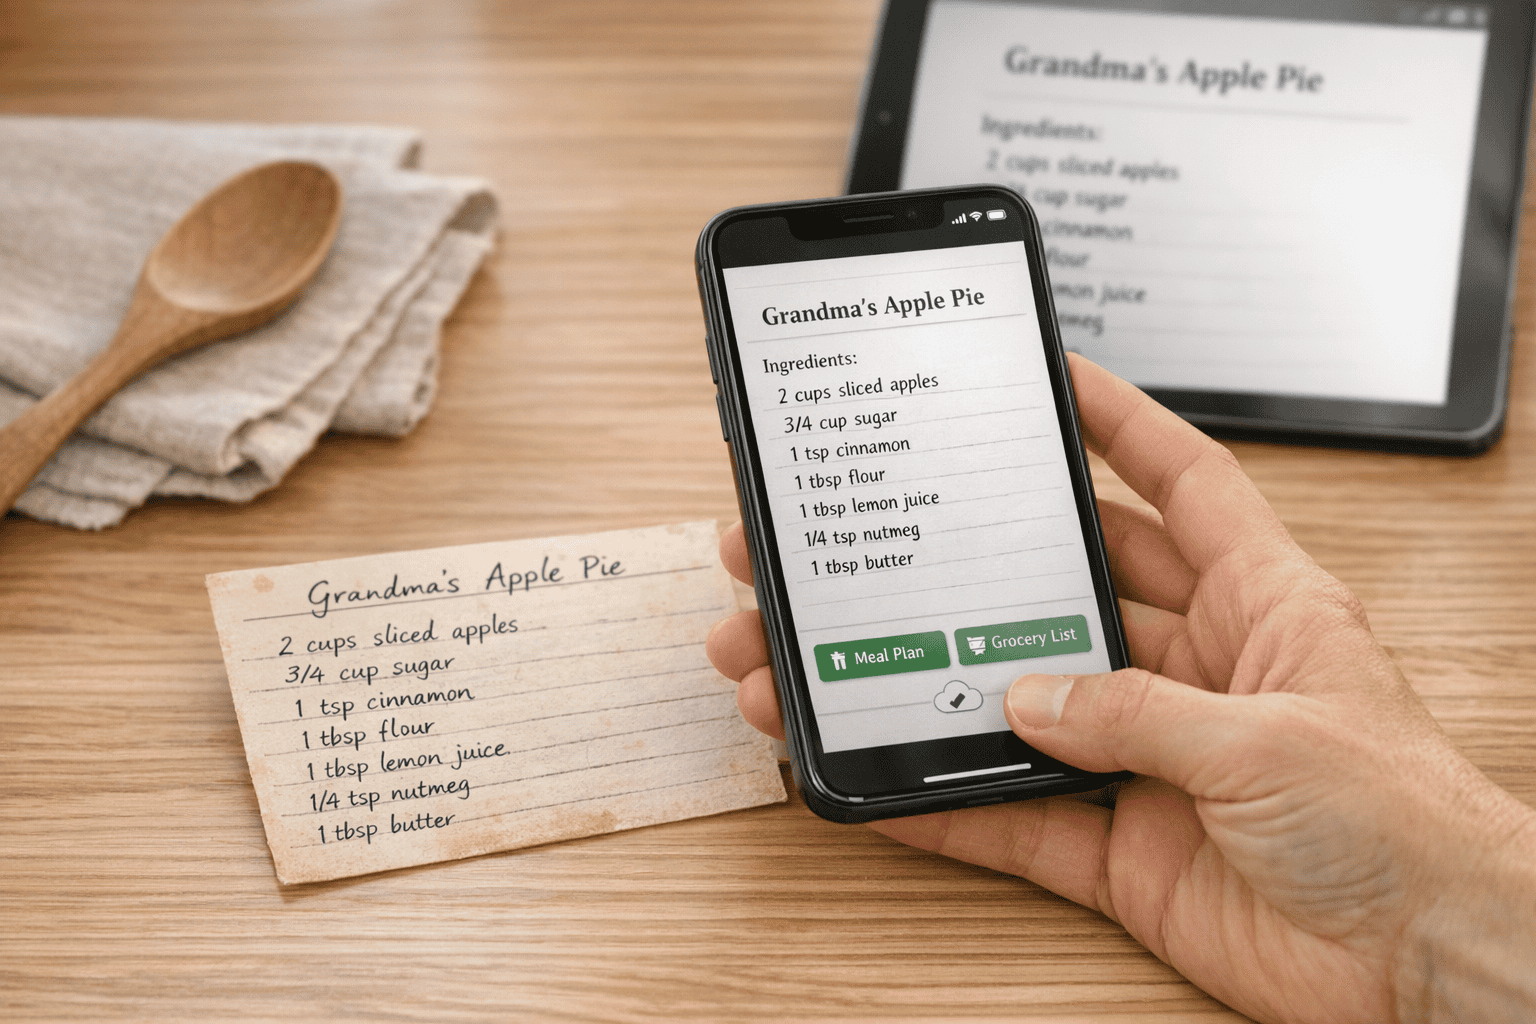
Mobile scanning apps turn your smartphone into a handy scanner, making it simple to digitize recipes. This approach works well for beginners or anyone with a smaller collection of recipes.
Recommended Apps for Scanning Recipes
Here are three apps that are great for scanning and organizing recipes:
-
- Adobe Scan: Known for its powerful OCR (Optical Character Recognition), it handles both printed and handwritten recipes effortlessly.
-
- OrganizEat: A recipe-focused app that lets you quickly capture recipes with its Snap ‘n Store feature and includes cloud backup for safekeeping.
-
- Mr. Cook: Specially designed for recipes, it offers strong text recognition to convert handwritten notes into searchable digital files.
Steps to Digitize Your Recipes
Here’s how to get started with scanning and saving your recipes:
-
- Pick a spot with good lighting and minimal shadows for clear scans.
-
- Place your recipe on a flat, solid-colored surface, and hold your phone parallel to it.
-
- Use the app’s auto-detection feature to optimize the scan.
-
- Check the scanned image to make sure it’s clear and complete. Use editing tools in the app to tweak contrast or sharpen the text if needed.
-
- Save your recipe and add tags or categories to make it easy to find later.
Why Use Mobile Scanning?
| Feature | What It Offers |
|---|---|
| Portability | Scan recipes from anywhere |
| Instant Sharing | Save to the cloud or share quickly |
| Easy Organization | Use tags and categories for sorting |
Mobile scanning apps are perfect for quickly organizing recipes. Many apps also have premium options like unlimited storage or meal planning tools, making it even easier to manage your collection.
If you’re working with a larger number of recipes or want the best scan quality, you might prefer using a home scanner instead.
Method 2: Using a Home Scanner for Recipes
A home scanner offers excellent image clarity and precise control, making it a great option for preserving your treasured family recipes. It captures even the smallest details, like handwriting and texture, ensuring your recipes are saved just as they are.
How to Scan Recipes at Home
Follow these steps to get the best results when scanning recipes at home:
1. Prepare Your Equipment
Make sure your scanner glass is clean, and set the resolution to at least 300 DPI for sharp, readable scans.
2. Position and Scan
Lay your recipe flat on the scanner glass, aligning it carefully with the edges. For fragile or older recipes, use a clear plastic sleeve to protect them during the scan. Save the scanned files as PDFs for easy access and sharing.
3. Organize Your Digital Files
Set up a clear folder system for your files – perhaps by family member or recipe type. This structure is especially helpful when dealing with a large collection of recipes.
Pros and Cons of Home Scanners
| Feature | Advantage | Limitation |
|---|---|---|
| Image Quality | High resolution (300+ DPI) | Requires dedicated space |
| File Control | Direct save to computer | Less portable than mobile apps |
| Batch Scanning | Handles multiple pages fast | Higher initial cost |
| Format Options | Supports various file types |
Flatbed scanners are especially useful for delicate recipes or larger collections. While they take more effort to set up compared to mobile apps, the image quality makes them a top choice for creating a long-lasting digital archive of your family’s recipes.
Pairing a scanner with OCR software can also help convert handwritten recipes into editable text. For extra security, store your files both on your computer and in the cloud. If a scanner feels like too much of an investment, using your smartphone camera might be a simpler alternative.
Method 3: Managing Recipes with Digital Tools
Digital recipe management tools make it easier than ever to store and organize your treasured family recipes. These apps are designed to keep your recipes safe, accessible, and easy to manage.
Overview of OrganizEat and Similar Apps

Apps like OrganizEat, CookBook, and Mr. Cook bring unique features to the table. OrganizEat allows you to capture recipes with photos and backs them up in the cloud. CookBook is great for meal planning and creating shopping lists. Mr. Cook stands out with its ability to digitize handwritten recipes using OCR (Optical Character Recognition) technology.
Here’s a quick look at what these tools offer:
| Feature | What It Does | How It Helps |
|---|---|---|
| Smart Organization | Lets you categorize and search recipes | Find recipes by type or occasion easily |
| Cloud Backup | Stores recipes securely online | Access them from any device |
| OCR Technology | Converts handwritten recipes | Makes handwritten notes searchable |
Tips for Using Recipe Apps
To get the most out of these apps, keep your digital collection organized and meaningful. For instance, group recipes by family traditions or special occasions to keep their sentimental value intact while ensuring they’re easy to find.
Here are some steps to help you manage your recipes effectively:
-
- Add Personal Touches: Include notes or tags for dietary preferences, family stories, or special occasions.
-
- Backup Your Recipes: Use cloud services to save copies in multiple locations for extra security.
-
- Share with Loved Ones: Use the app’s sharing features to send recipes to family members and keep traditions alive.
These tools not only safeguard your recipes but also allow you to personalize and share them, ensuring they remain a cherished part of your family history. With cloud storage, your recipes are always accessible and secure.
Method 4: Storing Recipes in the Cloud
Cloud storage makes your recipes accessible and safe across all devices. Unlike recipe apps, it provides a secure way to preserve your collection while keeping it a part of your family’s culinary story.
Cloud Storage Options
Here are three popular platforms for storing recipes:
| Platform | Free Storage | Recipe-Friendly Features |
|---|---|---|
| Google Drive | 15GB | Search recipes by text |
| Dropbox | 2GB | Organize recipe photos easily |
| OneDrive | 5GB | Automatic recipe categorization |
Each platform has a mobile app, making it easy to access recipes while cooking or shopping. Pick the one that fits your current digital setup – for example, Google Drive integrates seamlessly if you’re already using other Google services.
Organizing Recipes in the Cloud
To keep your recipes neat and easy to find, follow these steps:
-
- Create main folders like Family Recipes or Holiday Favorites.
-
- Add subfolders for categories such as cuisines or meal types.
-
- Use descriptive file names like
Grandmas_Apple_Pie.pdforChocolate_Cake_Holiday.pdf.
- Use descriptive file names like
For family recipes, include names like “Aunt_Mary’s_Lasagna.pdf” to make them more personal. Adding keywords to file names can also help with quick searches later.
Take advantage of the tools offered by your chosen platform:
-
- Google Drive: Use the text search feature to find recipes in scanned documents.
-
- OneDrive: Rely on automatic photo categorization for visual recipe collections.
-
- Dropbox: Organize recipe photos into albums for better navigation.
For an extra layer of efficiency, consider creating a digital index with links to your recipe files. This way, you can find what you need in just a few clicks.
sbb-itb-6688478
Method 5: Taking Photos of Recipes
Snapping photos of family recipes is a straightforward way to create digital copies while keeping their original charm intact. With a smartphone camera, you can quickly capture recipes without needing extra tools or apps – perfect for anyone looking for a simple solution.
How to Take Clear Recipe Photos
To make sure your recipe photos are easy to read, focus on these key details:
| Element | Best Practice | Why It Matters |
|---|---|---|
| Lighting | Use natural light near a window | Keeps text sharp and clear |
| Surface | Choose a flat, neutral background | Keeps attention on the recipe |
| Angle | Hold the camera parallel to the recipe | Prevents distortion or blurry spots |
| Distance | Get close enough to read the text | Captures all the details |
Natural light works best, especially for older or faded recipes. A white or plain background can help highlight the text. Avoid using flash – it often creates glare that makes the writing hard to see.
Organizing Recipe Photos
Once you’ve taken your photos, sort them into clearly labeled folders, such as “Grandma’s Desserts” or “Family Favorites.” Use specific filenames like “Apple_Pie_Grandma_Rose_1960.jpg” so you can easily locate recipes later. To make searching even easier, add metadata tags like “dessert”, “holiday”, or “family tradition.”
For extra peace of mind, back up your recipe photos with cloud storage services like Google Drive or Dropbox. You can also use tools like Adobe Scan to improve photo quality and make the text searchable.
If this method feels too casual or you’d prefer a more polished option, typing out recipes might suit you better.
Method 6: Typing Recipes Manually
Typing recipes manually gives you complete control over your digital collection, making it ideal for recipes that are hard to scan or need frequent updates. Though it takes more time, this method ensures precision, especially for recipes with intricate details or those in poor condition.
When to Type Recipes
| Scenario | Why It’s Helpful |
|---|---|
| Faded or damaged recipes | Keeps details intact that scanning might overlook |
| Complex annotations | Preserves notes, variations, and edits |
| Unit conversions | Adjust measurements as you type |
| Multiple versions | Merge different versions into one clear document |
| Unique symbols | Accurately record non-standard units or symbols |
Tools for Typing Recipes
| Tool Type | Features |
|---|---|
| Word Processing Tools | Basic formatting, works offline or online |
| Recipe Apps (e.g., CookBook) | Specialized features like scaling and meal plans |
Tips for Efficiency:
-
- Set up a template with sections for ingredients, instructions, and notes.
-
- Use consistent formatting and clear headings for readability.
-
- Add tags like “holiday” or “family favorites” to make searching easier.
-
- Work in a quiet space and proofread carefully.
-
- Save files with descriptive names (e.g.,
Grandmas_Chocolate_Cake_Christmas.doc).
- Save files with descriptive names (e.g.,
Don’t forget to back up your typed recipes using cloud storage. If typing feels too tedious, snapping a photo of the recipe can save time while still preserving the details.
Method 7: Using a Digital Camera for Recipes
If you enjoy photography or need high-detail images, a digital camera can be a great option for digitizing family recipes. This works especially well for recipes with delicate handwriting, faded text, or unique layouts.
How to Use a Digital Camera
To get the best results, place your recipe on a flat surface with good natural light. Stabilize your camera with a tripod and use close-up mode for sharp details. Here’s a quick guide:
| Setting | Recommendation |
|---|---|
| Mode | Close-up mode for clarity |
| Light | Natural light near a window |
| Stability | Use a tripod or steady surface |
| Focus | Manual focus for sharp text |
Digital Camera vs. Smartphone Photos
While smartphones are handy, digital cameras often deliver better results for recipe preservation. Here’s a comparison:
| Feature | Digital Camera | Smartphone |
|---|---|---|
| Image Quality | Higher resolution | Standard resolution |
| Detail Capture | Performs better in low light | Struggles in dim conditions |
| Close-up Ability | Sharper close-ups | Quality varies |
| Storage | Removable cards | Internal/cloud storage |
Tips for Better Results:
-
- Take multiple photos and review them right away to ensure clarity.
-
- Transfer images to your computer or cloud storage for safekeeping.
-
- Use descriptive file names, like
GrandmaSmith_ApplePie_1950.jpg.
- Use descriptive file names, like
-
- Pay special attention to capturing clear, readable text, especially for recipes that are worn or faded.
Whether you use a smartphone or a digital camera, the goal is to preserve your recipes in a way that keeps their sentimental and practical value intact. For recipes that need the highest quality preservation, digital cameras are often the better choice.
Conclusion
Turning family recipes into digital files helps keep them safe, easy to access, and simple to share with others. By transferring delicate handwritten notes or aging clippings into a well-organized digital format, you protect both their practical use and the cherished memories they hold.
Why Go Digital?
Here’s a quick look at the benefits of digitizing recipes:
-
- Protect recipes from wear and tear over time
-
- Access them anywhere, from any device
-
- Share them effortlessly with family and friends
-
- Keep everything organized in a searchable format
The best approach depends on your collection – whether it’s fragile handwritten notes or vintage recipe cards, there’s a method that works for you.
Getting Started
-
- Gather your recipes and decide which ones to prioritize.
-
- Pick a digitization method that works for your materials.
-
- Save and label your files clearly, and always keep backups.
Consider using cloud storage platforms like Google Drive or Dropbox to keep your collection secure and easy to access. With these steps, you’ll not only preserve your family’s culinary heritage but also ensure it’s ready to be enjoyed for generations to come.
Comparison of Methods
Different digitization methods offer various benefits for preserving family recipes. Knowing these differences can help you pick the right one for your needs.
Comparison Table
| Method | Best For | Cost | Time Investment | Quality | Ease of Use |
|---|---|---|---|---|---|
| Mobile Apps | Quick, portable scanning | Free-$9.99/month | Low | Good | Very Easy |
| Home Scanner | Large collections | $100-300 | Medium | Excellent | Moderate |
| Digital Tools | Recipe organization | Free-Premium | Medium | Good | Easy |
| Cloud Storage | Sharing, backup | Free-$10/month | Low | Original quality | Easy |
| Photo Method | Instant capture | Free | Very Low | Fair | Very Easy |
| Manual Typing | Editing, formatting | Free | High | Perfect | Moderate |
| Digital Camera | High-detail capture | $200-500 | Medium | Very Good | Moderate |
Each option has its strengths, depending on the situation:
-
- Mobile Apps: Great for quick scans and include OCR (Optical Character Recognition) for turning images into editable text.
-
- Home Scanners: Best for preserving detailed or delicate recipes in high quality.
-
- Digital Tools: Ideal for organizing recipes and enabling easy sharing.
-
- Cloud Storage: Provides secure backup and lets you share recipes with family members.
-
- Photo Method: Handy for simple recipes or quick reference needs.
-
- Manual Typing: Perfect for making searchable, editable versions of recipes.
-
- Digital Camera: Excellent for capturing fine details and textures.
For detailed instructions on using each method, refer to earlier sections. Often, a combination works best – for example, using mobile apps for everyday recipes and home scanners for preserving irreplaceable family treasures.
Modern apps with OCR capabilities simplify recipe management significantly. You can start with mobile apps and expand to other methods as your collection grows.


