
You pull open a kitchen drawer looking for cinnamon, and there it is. A rubber-banded stack of recipe cards. Some are bent at the corners. One has a butter stain over the ingredient list. Another is written in the slanted handwriting you’d recognize anywhere.
That’s usually the moment people realize these recipes aren’t just instructions. They’re family records. They hold habits, holidays, and little kitchen shortcuts that never made it into any printed cookbook.
The good news is that turning them into a usable digital collection is much easier than it used to be. Consumer photo scanners only became widely available in the late 1990s, after scanning had long been a professional service, and Mac users have been part of that story since the ThunderScan for Macintosh arrived in 1984, according to this brief history of photo scanning. Today, the process is simple enough for a rainy Sunday at the kitchen table.
If you’re staring at a pile of handwritten cards, magazine clippings, and cookbook pages, you don’t need a complicated archive project. You need a method that works. If you want a few low-effort starting ideas before choosing equipment, these simple ways to digitize old family recipes are a helpful warm-up.
Table of Contents
- Giving Your Family Recipes a Digital Home
- Understanding Your Mac Scanning Options
- How to Choose the Right Scanner for Your Recipes
- Essential Mac Software and Scanning Settings
- Your Step-by-Step Recipe Scanning Workflow
- Preserving and Sharing Your Digital Recipe Collection
- Common Questions About Digitizing Recipes
Giving Your Family Recipes a Digital Home
A family recipe box has a strange mix of order and chaos. The chocolate cake card is where it’s always been. The gravy recipe is missing until Thanksgiving. The newspaper clipping for lemon bars has gone yellow and feels one fold away from tearing.
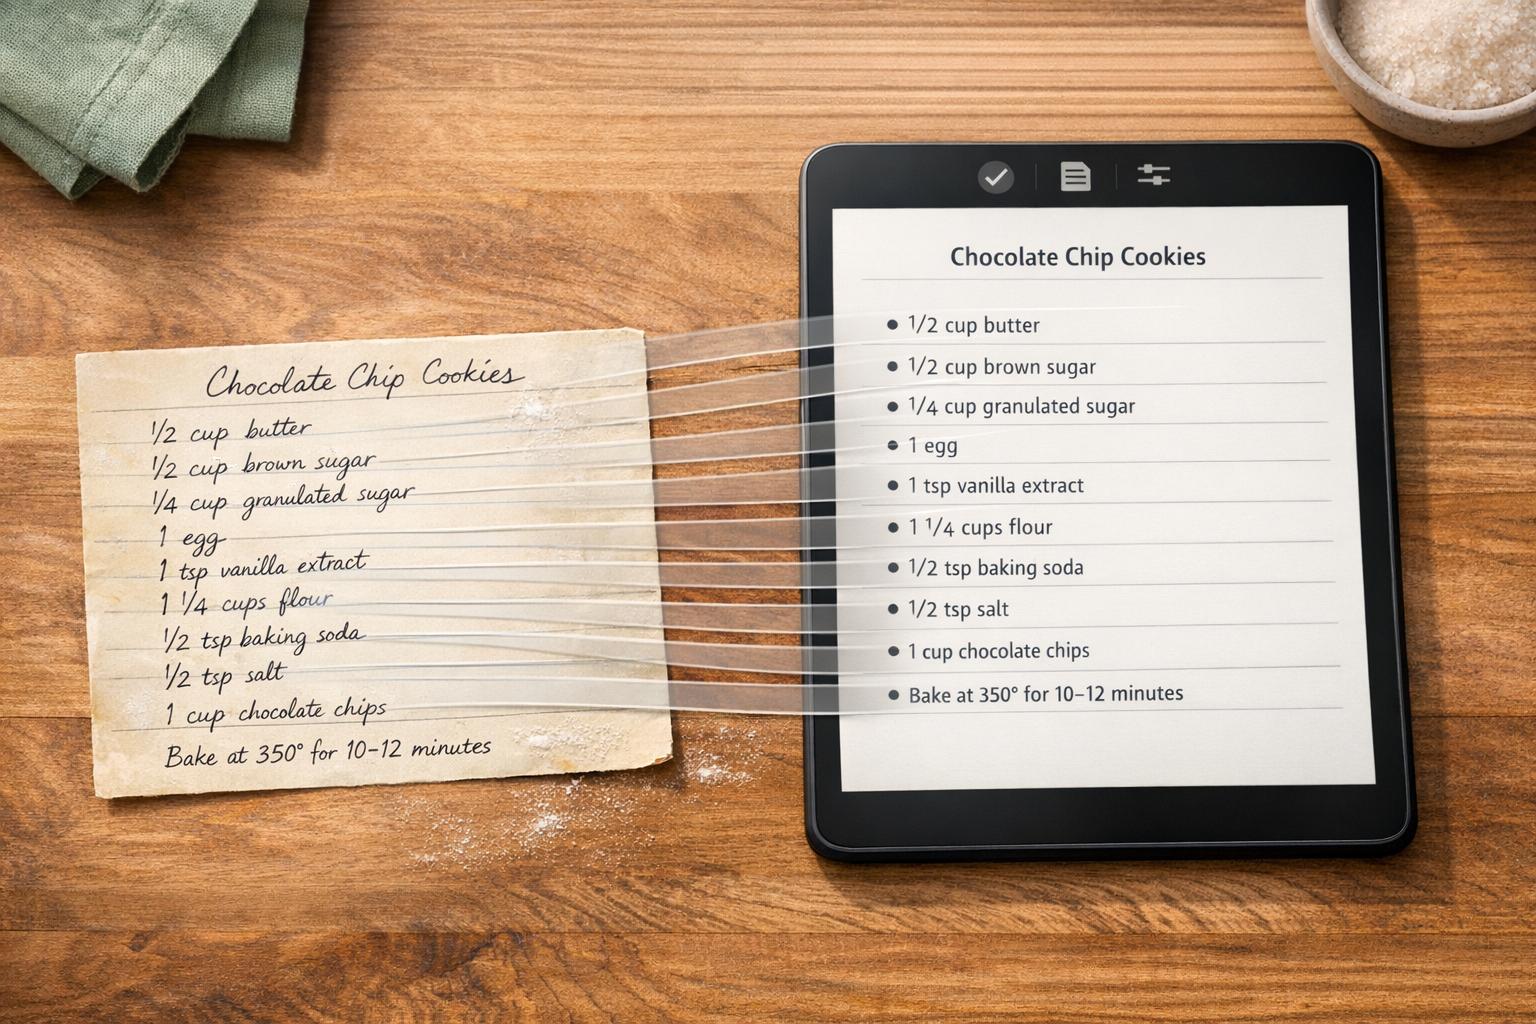
Scanning solves two problems at once. It protects the originals, and it puts the recipes back into your cooking life. A card tucked in a drawer is safe only until the next move, spill, or cleanup frenzy. A clear digital copy is easier to search, easier to read, and much easier to use on a weeknight.
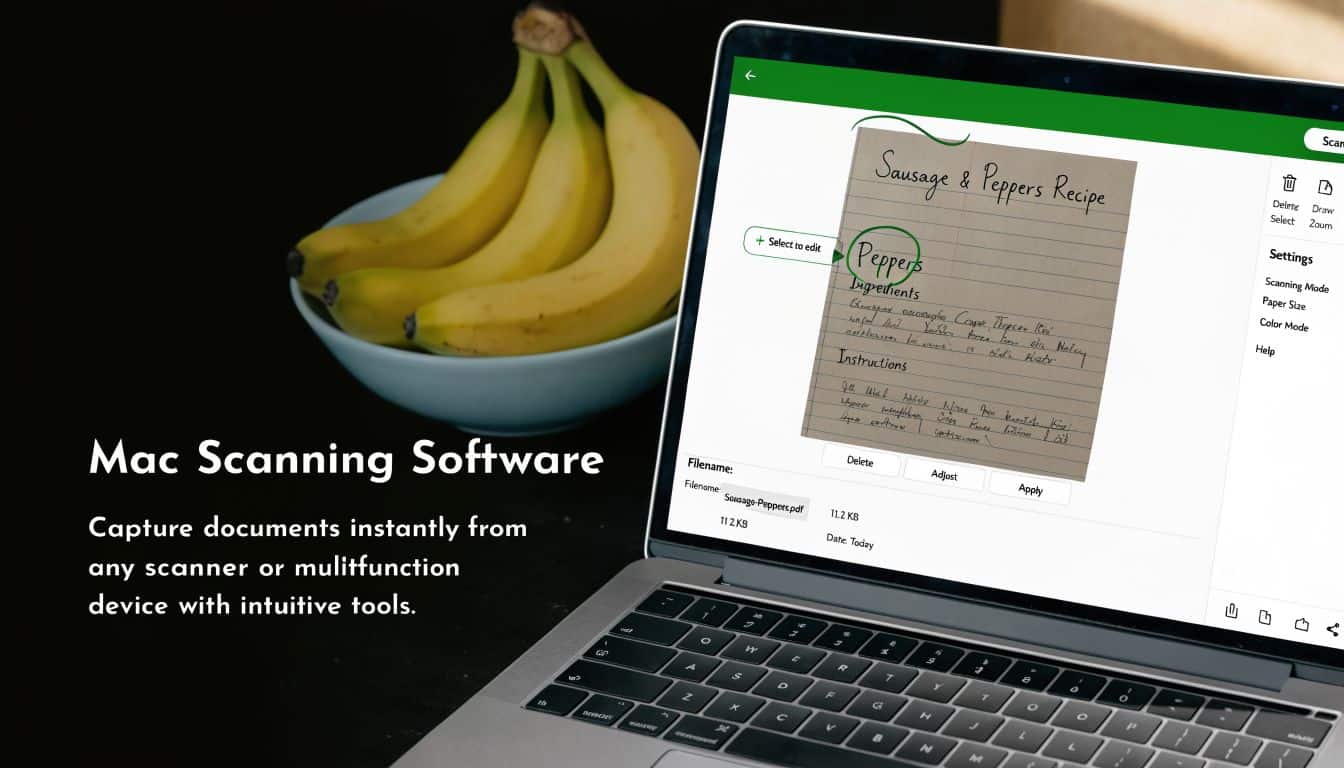
What I like most about a good photo scanner for macs is that it makes the project feel manageable. You don’t need to be “techy.” You need a clean surface, a little patience, and a scanner that matches the kind of recipe collection you have.
Old recipe cards usually matter because of what’s on them and how they look. Good digitizing keeps both.
Some people want to preserve every stain and handwritten note. Others just want readable copies so they can stop squinting at faded ink. Both are valid. The right setup depends on whether you’re scanning fragile index cards, bound cookbooks, or neat stacks of printed sheets.
That’s why the hardware choice matters more than most buyers expect. A fast scanner can make a large pile feel small. A gentle scanner can save delicate cards from damage. A good flatbed can rescue recipes that are too warped or precious to feed through rollers.
Understanding Your Mac Scanning Options
If you’ve started shopping already, you’ve probably noticed that scanner listings blur together fast. The easiest way to sort them out is to think like a cook choosing the right pan. One tool can do many jobs, but some jobs go better with the right shape.
Flatbed scanners
A flatbed scanner is the casserole dish of the group. It’s steady, forgiving, and good for odd shapes.
You lift the lid, place the recipe face down on the glass, and scan. That makes flatbeds especially useful for:
- Bound cookbooks that won’t feed cleanly through a document scanner
- Fragile recipe cards with curled edges
- Clippings and notes in unusual sizes
- Items with texture like older paper, pencil marks, or faded ink
Flatbeds are usually the easiest place to start if your collection is mixed. They’re slower than dedicated feed scanners, but they’re also gentler and more flexible.
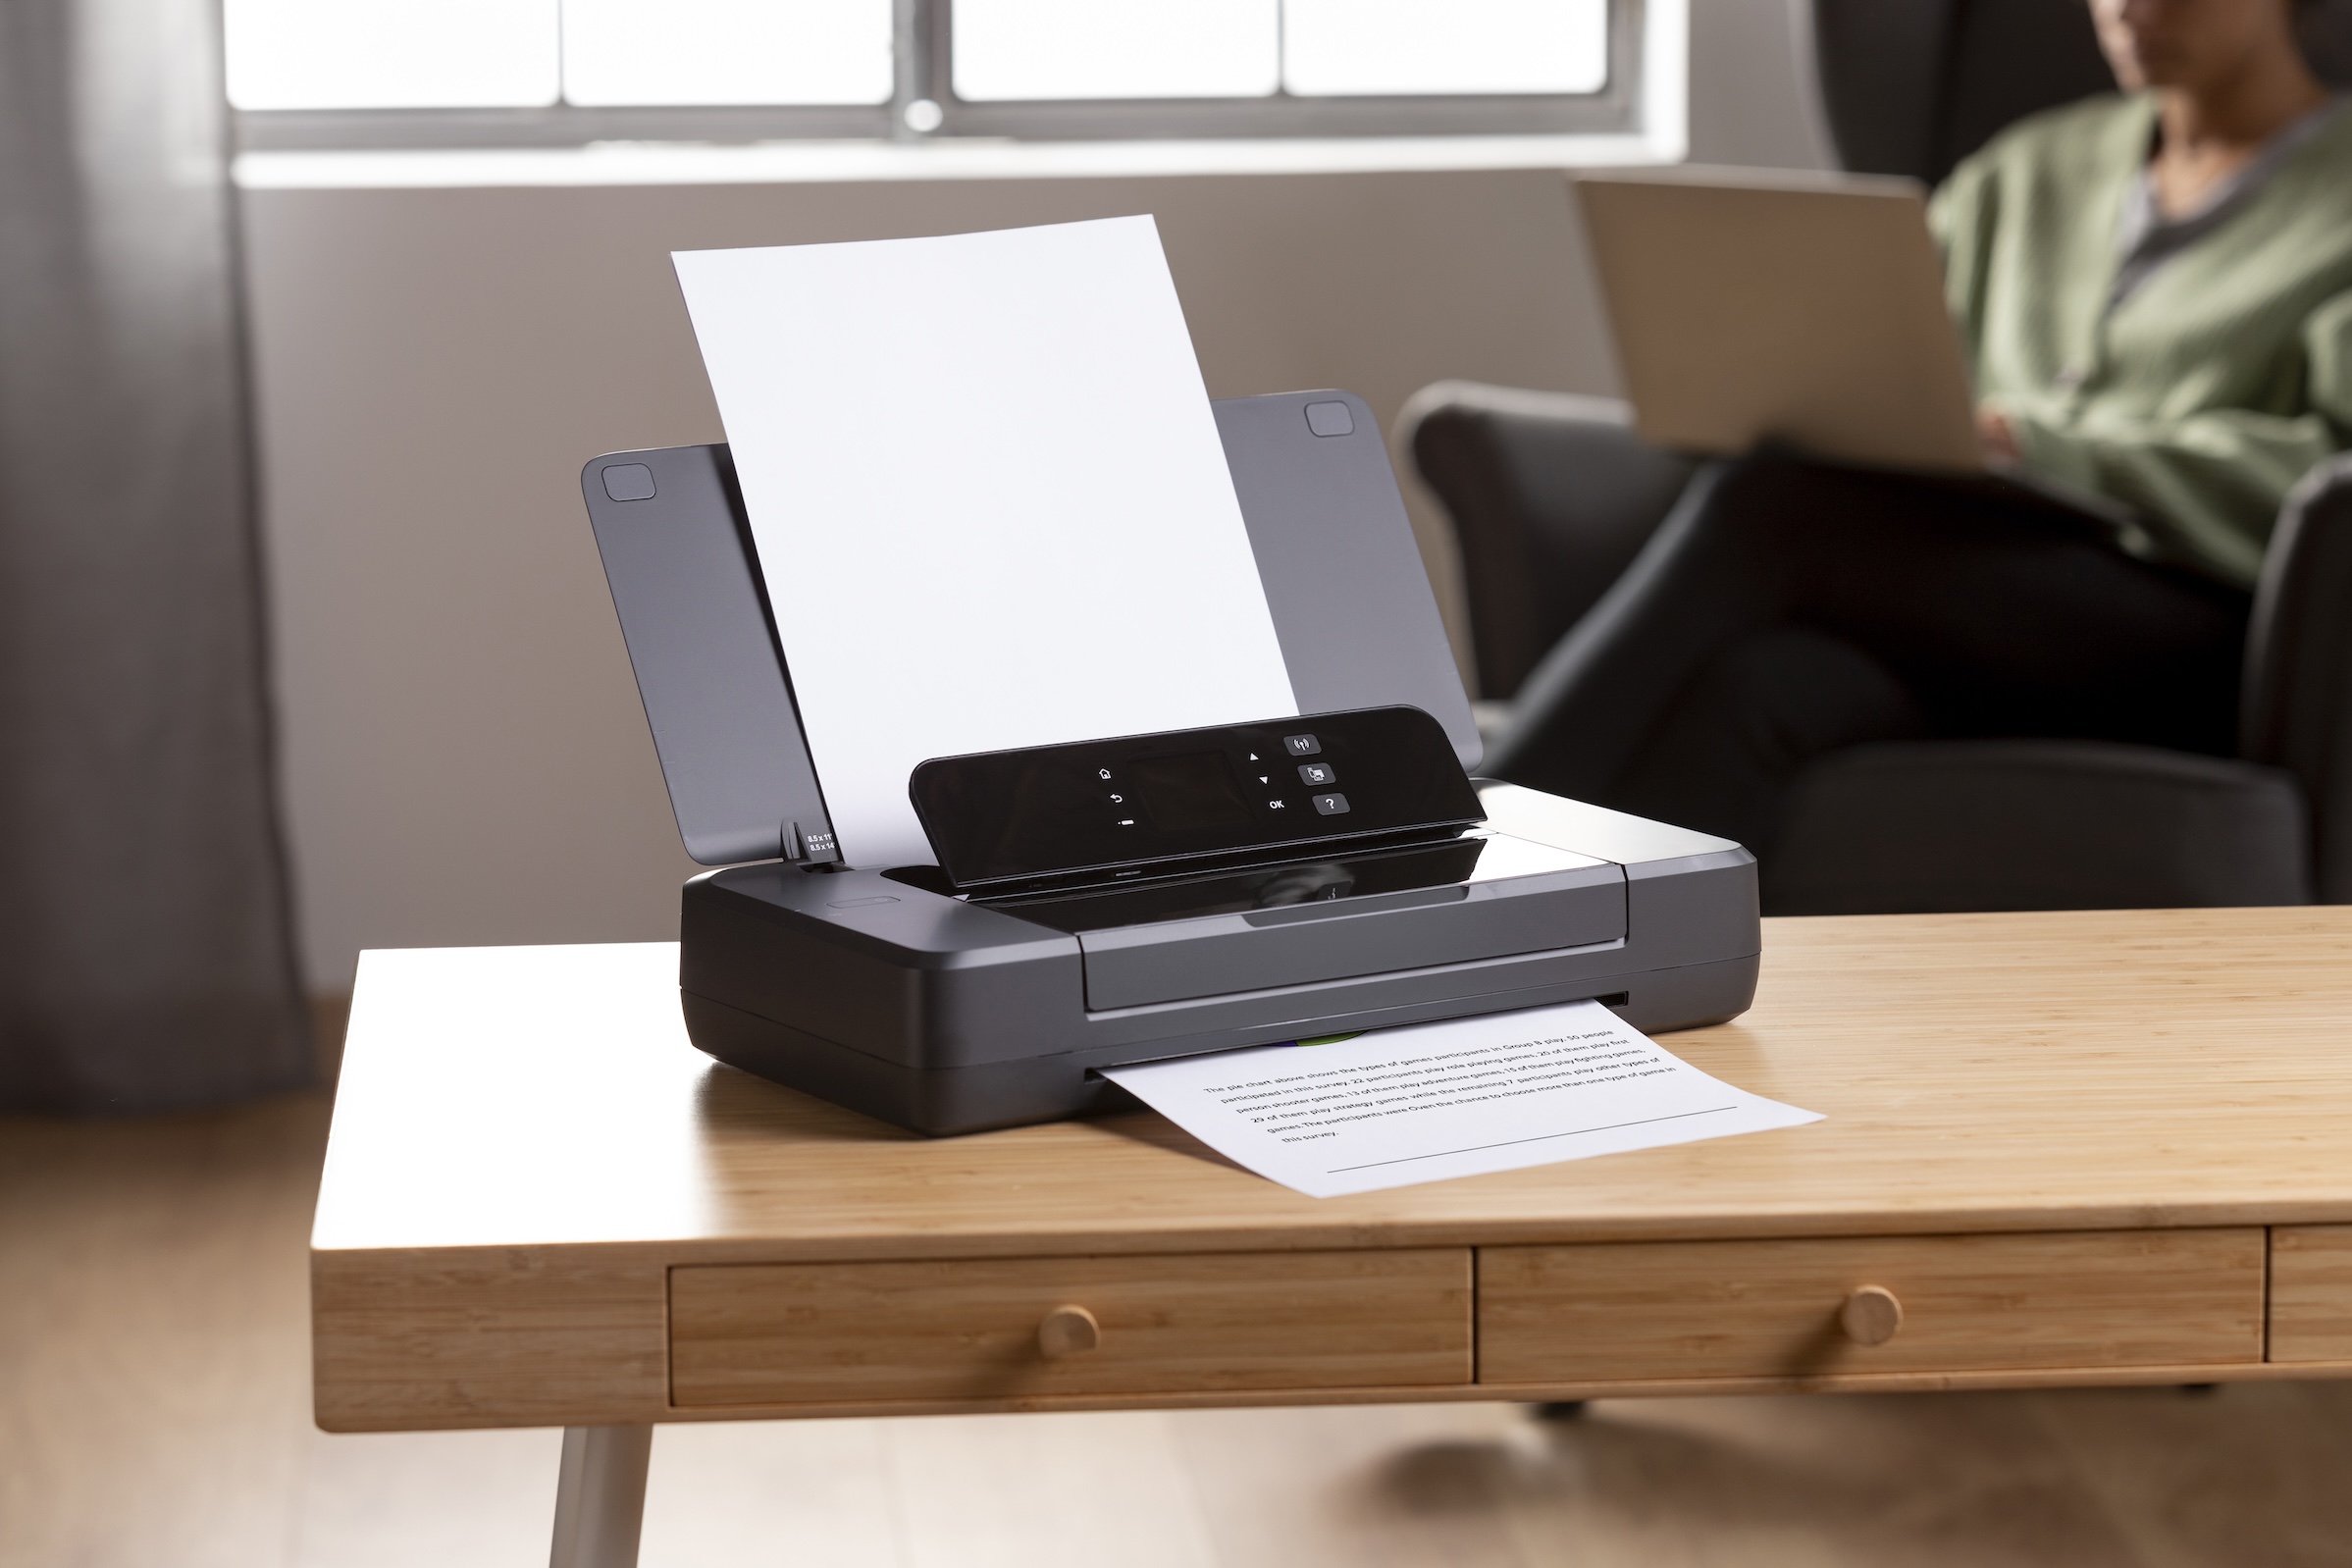
Sheet-fed photo scanners
A sheet-fed photo scanner is more like a stand mixer. It shines when you have a repetitive task and a lot of it.
These scanners pull items through automatically, which makes them ideal for stacks of similarly sized recipe cards or printed sheets. They’re excellent when speed matters and your collection is fairly uniform.
The tradeoff is simple. They aren’t the best fit for thick books, very fragile papers, or anything you’d hesitate to run through rollers.
Camera-based scanning apps
A camera-based scanning app is the quick skillet dinner. Fast, convenient, and often good enough when you want results right now.
For one or two recipes, your phone may be all you need. It’s especially handy when you’re borrowing a cookbook from a friend or snapping a recipe before leaving a relative’s house. But phone captures can introduce glare, shadows, skewed angles, and inconsistent color.
That doesn’t make them bad. It just means they’re better for convenience than consistency.
Scanner Types at a Glance
| Scanner Type | Best For | Pros | Cons |
|---|---|---|---|
| Flatbed scanner | Cookbooks, delicate cards, odd sizes | Gentle handling, strong image quality, flexible | Slower for big batches |
| Sheet-fed photo scanner | Stacks of similar recipe cards or printed sheets | Fast, efficient, less manual work | Not ideal for fragile or bound items |
| Camera-based scanning apps | Quick captures, one-off recipes, travel use | Convenient, always available, no extra hardware | Less consistent results, more glare and angle issues |
Practical rule: If your recipes live in one shoebox, a feed scanner can save time. If they live in drawers, binders, books, and envelopes, a flatbed is usually the safer pick.
Mac users have one extra advantage here. Many scanners work smoothly with built-in macOS tools, so the hardware choice often matters more than the software learning curve.
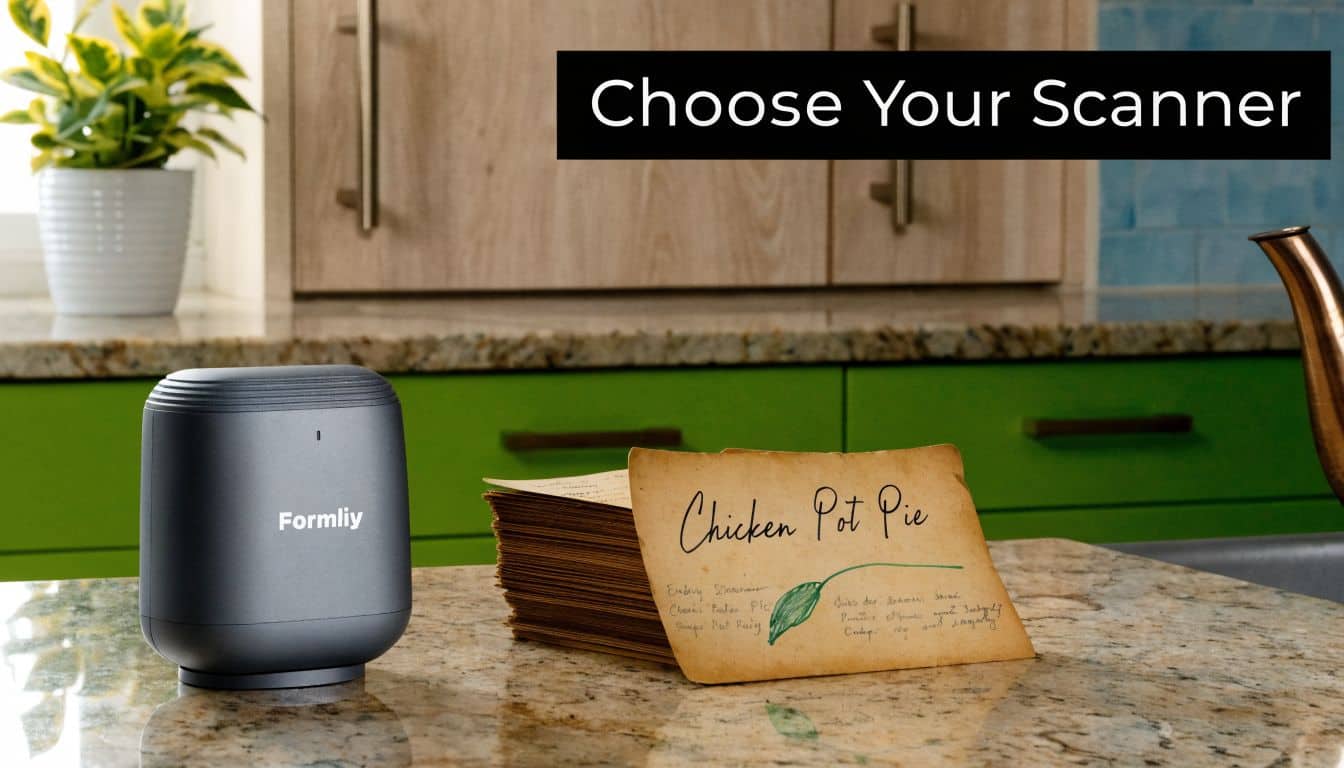
How to Choose the Right Scanner for Your Recipes
The best photo scanner for macs isn’t the one with the longest feature list. It’s the one that matches your recipe pile, your kitchen space, and your tolerance for repetitive tasks.
Start with the kind of recipes you actually have
Before comparing brands, sort your collection into simple groups.
- Mostly recipe cards: A sheet-fed model may save you a lot of time.
- Mostly cookbook pages: A flatbed is safer and easier to align.
- A mix of everything: Choose flexibility first.
- Very old or delicate originals: Favor gentle handling over speed.
This sounds obvious, but it’s where many people get stuck. They shop for “the best scanner” instead of the best scanner for their own collection.
The specs that matter most
For recipe scanning, two technical terms matter more than the rest: resolution and D-Max.
Resolution tells you how much detail the scanner can capture. D-Max relates to how well it records subtle differences between dark ink and lighter paper tones. That matters more than people think when you’re scanning faded pencil, uneven blue ink, or browned cookbook pages.
A Mac-compatible example often discussed for detail work is the Epson Perfection V392, which offers 4,800 dpi resolution, and the guidance in this Apple Support discussion about scanner resolution and D-Max notes that strong D-Max performance helps capture both dark ink and light paper texture cleanly. In plain language, that means old recipe cards look more readable without losing their character.
A few simple buying guidelines help:
- Choose clarity over maximum specs: You want readable handwriting and clean edges, not giant files for no reason.
- Look for strong handling of faded originals: Older recipes often fail because of weak contrast capture, not because you lacked another jump in resolution.
- Check Mac compatibility carefully: Make sure the scanner supports your version of macOS before you buy.
- Think about storage space: A scanner that fits your routine gets used. One that lives in a closet often doesn’t.
Here’s a helpful demo if you want to see what compact recipe scanning setups can look like in practice:
When speed matters more than perfection
If your biggest problem is volume, focus on batch scanning and wireless connection.
The Epson FastFoto FF-680W can process up to 1 photo per second and scan up to 36 photos in succession, with Wi-Fi or USB connection options, according to the product details on the Epson FastFoto FF-680W page. For someone working through a family archive of recipe cards, that kind of speed changes the project from “someday” to “this weekend.”
If scanning feels overwhelming, reduce the scope. Start with desserts, holiday favorites, or the cards written in one person’s handwriting.
That smaller start usually tells you whether you value speed, gentleness, or image quality most.
Essential Mac Software and Scanning Settings
A good recipe scan setup on a Mac should feel like setting up your kitchen before a baking session. You want a few reliable tools, clear labels, and settings you can trust every time. The goal is not to collect fancy software. The goal is to turn a stack of handwritten cards and clipped pages into recipe files you can find, read, and bring into OrganizEat without extra cleanup.
Use the Mac tools you already have
For many home cooks, the simplest place to start is Image Capture on your Mac. It is built in, easy to miss, and surprisingly capable for recipe projects.
Open Image Capture, choose your scanner, preview the page, crop around the recipe, and save the file to a folder you made for this project. That alone handles a big share of recipe scanning jobs. If your scanner came with its own app, keep it in mind for batch scanning, color correction, or automatic cleanup. Still, you do not need a pile of extra apps just to get clean, readable recipe files.
A practical Mac setup often looks like this:
- Connect your scanner by USB or Wi-Fi.
- Open Image Capture from Applications.
- Run a preview scan so you can check the framing.
- Crop close to the recipe instead of saving lots of empty background.
- Save with clear filenames in one recipe folder.
- Use Preview for quick rotation or small fixes.
If your end goal is OrganizEat, keeping this part simple helps. Clean scans with sensible filenames are much easier to import and sort later than a desktop full of files named “Scan 1” and “Scan 2.”
Settings that make recipe scans easier to read
Scan settings sound technical, but for recipes they work like choosing the right storage container. You are matching the setting to what you want to keep.
Start with resolution. This controls how much detail the scanner captures. Handwritten cards usually need enough detail to hold onto pencil marks, faded blue ink, and tiny margin notes. Printed cookbook pages are often more forgiving. If your files start getting huge and your recipes do not look any clearer, you have probably gone higher than you need.
Then choose color mode. Color is usually the safer pick for family recipes because it preserves more than words. You keep the yellowed paper, stains from old sauce splatters, red pen edits, and the look of the original card. Grayscale can work well for plain typed sheets with strong contrast.
For file type, use the one that matches your goal:
- JPEG works well for everyday storage and sharing.
- PNG is a good choice when you want text and edges to stay crisp.
- TIFF makes sense for archive-quality master copies if you are comfortable with larger files.
Two small habits save a lot of frustration later. Crop tightly so you are not scrolling past tablecloth, scanner lid, or blank margins. Rotate right away while you still remember which side was up.
A tidy scan at the start saves time twice. It is easier to read now, and easier to import into your recipe app later.
Where OCR fits in
OCR, short for optical character recognition, turns a scan into text your software can search. That matters when you want to search for “cinnamon rolls” or “paprika chicken” instead of opening files one by one.
Printed recipes usually give OCR the best chance of success. Handwriting is trickier, especially if the card is faint, slanted, or covered in corrections. You can still improve the result with a clear scan, good contrast, and tight cropping. If searchable recipes matter to you, these recipe apps with built-in OCR for recipes are a useful next comparison.
For Mac users building a digital recipe box, OCR is not the whole job. It is one part of a workflow. First get a readable scan. Then give it a useful name. Then bring it into OrganizEat so the recipe stops living as a loose file and starts living in a system you will use.
Your Step-by-Step Recipe Scanning Workflow
A good scanning session feels a lot like meal prep. You spend a little time setting up, then the whole batch goes faster and comes out cleaner. That matters with family recipes, because the goal is not just to make image files. It is to turn a pile of cards, clippings, and cookbook pages into recipes you can pull up on your Mac and bring into OrganizEat.
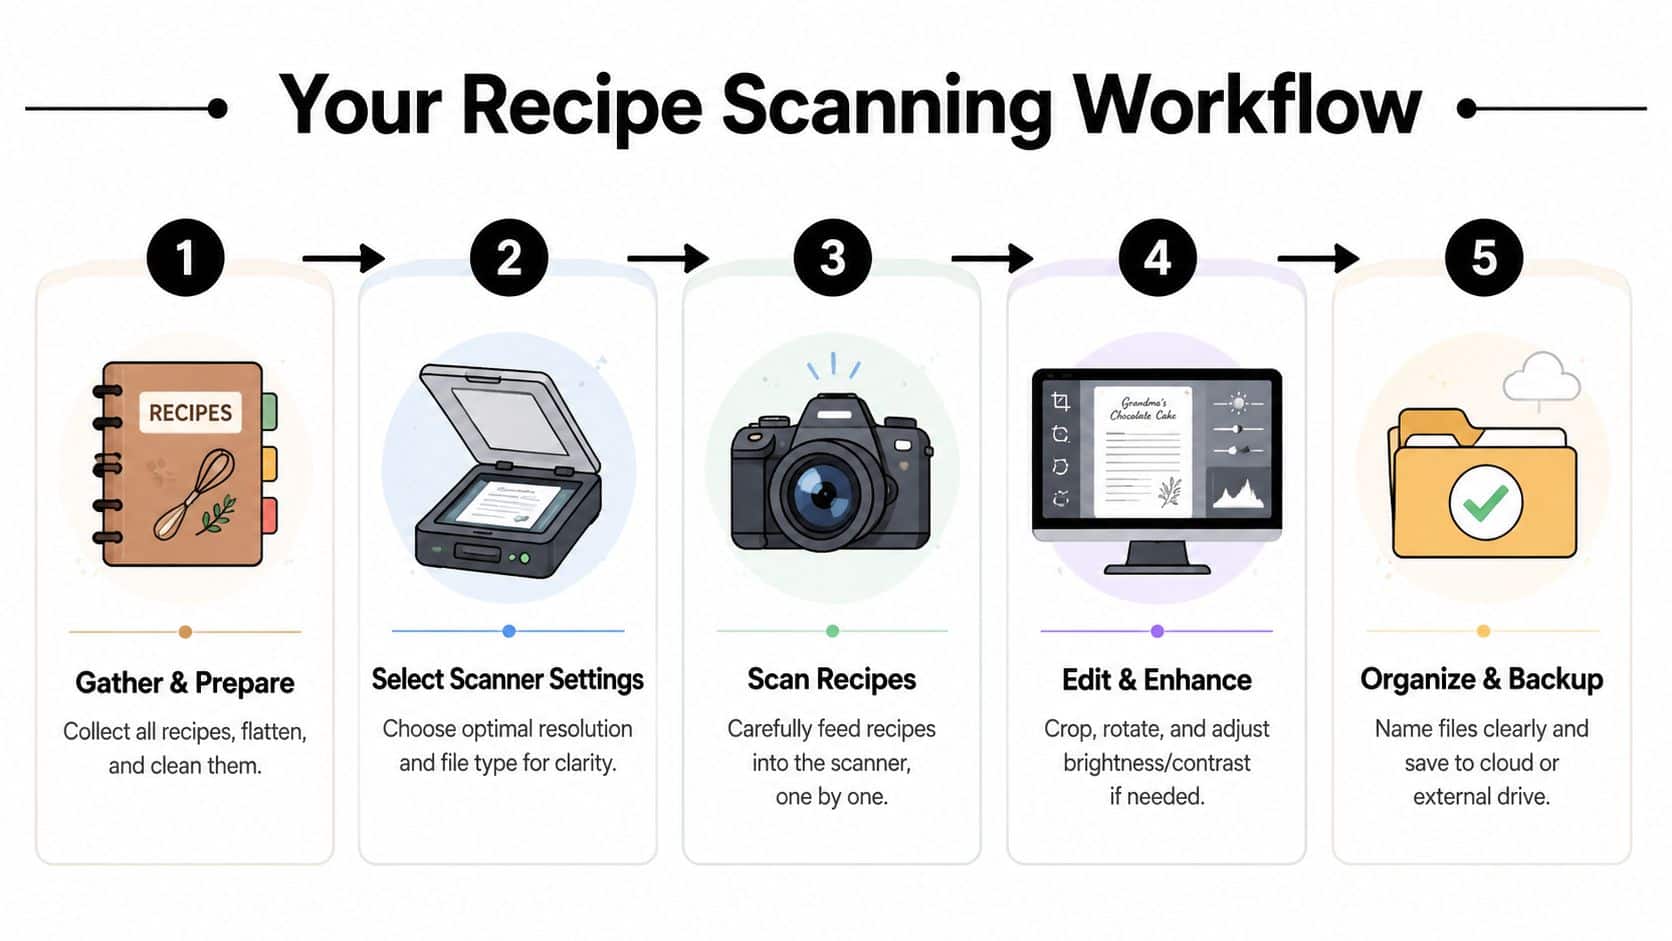
Step 1 and 2 prepare first then set the scanner once
Start with the papers, not the scanner.
Make a few small piles that match the originals in front of you. Put handwritten cards together. Stack typed sheets in their own group. Keep cookbook pages separate from loose papers. If anything is dusty, give it a gentle wipe. If a card is curled, press it under a heavy cookbook for a little while so it sits flatter on the glass.
This prep work prevents two common headaches. Pages feed more cleanly, and you spend less time fixing crooked scans later.
Once your batch is sorted, choose your settings for that batch and leave them alone unless the originals are clearly different. Constantly switching settings slows you down and creates a folder full of files that do not match.
A practical setup often looks like this:
- Handwritten cards: scan in color so faded ink, pencil notes, and food stains still show up clearly
- Typed recipe sheets: use settings that keep letters dark and edges sharp
- Cookbook pages: check alignment carefully so the text block stays straight and easy to crop
Step 3 and 4 scan carefully then clean up the files
Scan a few test pages first. Check the edges. Make sure no ingredient line is cut off, the card is not tilted, and the handwriting is readable at normal size on your Mac screen. Catching problems on page three is much better than catching them on page thirty.
Then name each file while the recipe is still fresh in your mind. A clear filename works like a label on a pantry jar. You know what it is without opening it.
A simple naming pattern keeps the collection readable:
- Grandma_ApplePie_CardFront
- Mom_Chili_1980s
- Holiday_Fudge_NewspaperClipping
- ChurchCookbook_Rolls_Page45
After scanning, do one quick cleanup pass in Finder. Rotate crooked pages. Delete duplicates. Move blurry scans into a redo folder so they do not get mixed in with the keepers.
If your scanner software includes OCR, use it for printed recipes and treat handwritten results as a bonus. Printed text usually converts more cleanly. Handwriting often needs a second pass, especially on older index cards. If you want help reading older script or messy pencil notes, these AI tools for transcribing handwritten recipes can save time before you import everything into OrganizEat.
Step 5 keep the collection usable
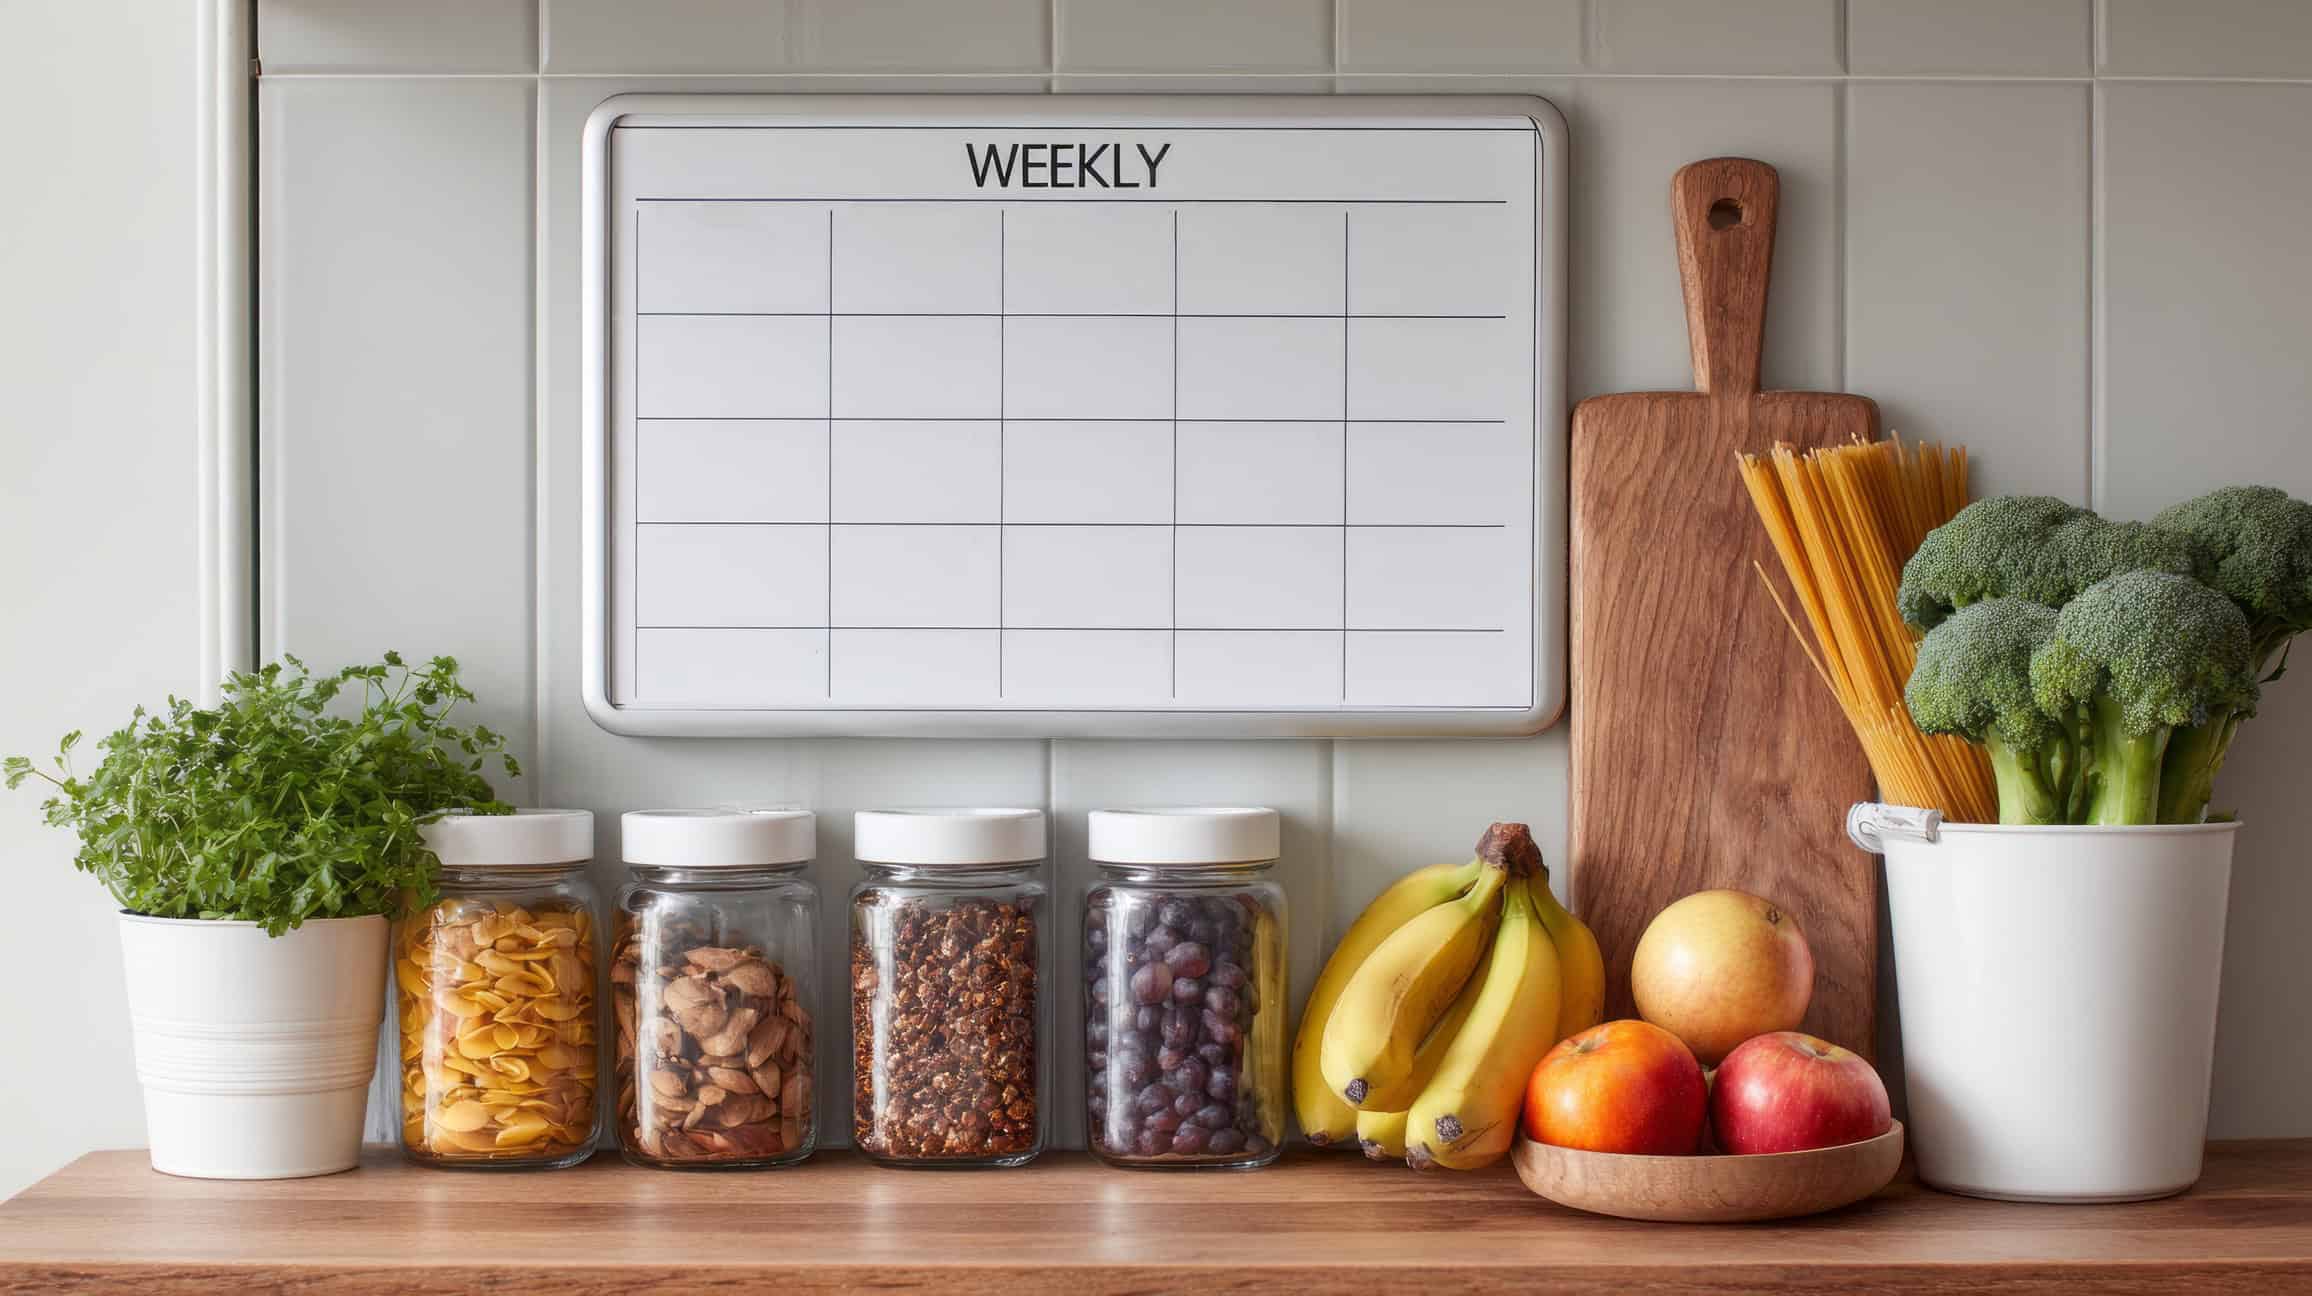
The last step is where the project starts paying off. Bring the scanned files into OrganizEat while the batch is still small enough to manage. Add the recipe title, attach the image, and use tags or categories that match how you cook.
Use labels that make sense in real life:
- Weeknight dinners
- Holiday baking
- Grandma’s recipes
- Potluck favorites
- To try
That gives your recipes a home instead of leaving them as loose files in a folder. On a busy Tuesday, you want to search once, tap the recipe, and start cooking.
Save one master folder on your Mac, then back it up somewhere else. A scan stored in only one place can still disappear.
Preserving and Sharing Your Digital Recipe Collection
Scanning gets the recipes onto your computer. Preservation starts when you make them easy to keep, find, and pass along.
Organization is part of preservation
A folder full of image files is better than a drawer full of fading cards, but it still has limits. You need a naming system you’ll stick with and a backup habit that doesn’t rely on memory.
Good organization usually comes down to a few repeatable choices:
- Use family names when they matter: “Aunt Rose coffee cake” is more meaningful than “coffee cake 2.”
- Tag by real-life use: Weeknight, holiday, baking, freezer-friendly, picnic.
- Keep versions distinct: If one brownie recipe is revised, save that clearly instead of overwriting the old one.
- Back up early: Don’t wait until the whole project is finished.
The emotional value of recipe collections makes backup feel less optional. A broken laptop is annoying. A lost set of handwritten family recipes feels much worse.
Sharing keeps recipes alive
The nicest part of digitizing recipes is that they return to circulation. A cousin can finally get the stuffing recipe. Your kids can cook from a tablet instead of hovering over a fragile card. A friend can ask for the cookie recipe and receive it that day.
Digital collections also make it easier to create themed sets. You can gather holiday staples, new-parent freezer meals, or family birthday favorites without pulling originals in and out of storage.
That sharing instinct shows up in other memory projects too. If your family also digitizes wedding photos or mementos, a tool like Wedding Album with QR can be a useful example of how physical keepsakes and digital access can work together.
The point isn’t just safekeeping. It’s continued use. Recipes survive best when people keep cooking them.
Common Questions About Digitizing Recipes
A few questions come up in almost every recipe scanning project. Most of them boil down to quality, effort, and what to do with the originals afterward.
FAQ
| Question | Answer |
|---|---|
| Is a phone camera good enough? | Sometimes, yes. A phone is great for quick capture and temporary reference. A dedicated scanner usually gives more consistent results for faded handwriting, flat crops, and large batches. |
| What’s the best scanner type for cookbook pages? | A flatbed is usually the easiest option because it handles bound pages gently and lets you control alignment. |
| What if the recipe card is stained or faded? | Scan in color, check the preview, and adjust crop and brightness only enough to improve readability. Keep one version that preserves the original look. |
| Should I scan both sides of a recipe card? | Yes, if there are notes, substitutions, dates, or handwriting on the back. Those details are often the most valuable part. |
| Do I need OCR? | Not always. If you mainly want a visual archive, clean image files may be enough. OCR helps when you want to search by ingredient or recipe name later. |
| What should I do with the physical originals after scanning? | Keep the irreplaceable ones. Store them flat, dry, and out of direct light. For less sentimental copies, some people keep only the best originals and recycle duplicates. |
One more common assumption is worth challenging. People often think the hard part is the scanning itself. Usually it isn’t. The harder part is creating a collection you’ll still understand six months later.
That’s why consistent names, sensible folders, and a backup habit matter more than chasing perfect gear. A modest scanner used carefully will beat an advanced scanner used once and forgotten.
If you’re ready to turn your scanned cards, cookbook pages, and handwritten notes into a searchable recipe library, OrganizEat gives them a practical home. You can save recipe photos, organize them into categories, keep them synced across devices, and readily use them while cooking instead of leaving them buried in folders on your Mac.