Screenshots on a Mac are saved to the Desktop by default, and they usually appear with a filename like Screenshot [Date] at [Time].png. If you just took one and can't find it, the Desktop is the first place to check, because that's where macOS has put screenshots by default since 2001.
That's the part that catches people off guard. A screenshot feels temporary, almost like it should float into a photo tray somewhere, but on a Mac it's usually saved as a regular file. If your screen is busy, your Desktop is cluttered, or iCloud is shuffling files around, it can look like the image disappeared when it didn't.
To determine where do I find my screenshots on Mac, the answer is usually simple. Start with the Desktop, then use Finder search if it isn't there. After that, it's about figuring out whether your save location changed, whether iCloud moved what you expected to stay local, and how to stop the same problem from happening again.
Table of Contents
- The Default Hiding Spot for Mac Screenshots
- Using Finder and Spotlight to Hunt Down Any Screenshot
- How to Change Where Your Mac Screenshots Are Saved
- Troubleshooting Missing Screenshots and iCloud Sync
- Organizing Screenshots for Your Recipe Collection
- Frequently Asked Questions About Mac Screenshots
The Default Hiding Spot for Mac Screenshots
The first place to look is your Desktop. That isn't a guess. According to Macworld's guide to changing screenshot save locations on a Mac, macOS has saved screenshots to the Desktop by default since the graphical Command+Shift+3 shortcut arrived in Mac OS X 10.0 (Cheetah) in 2001, and that behavior has persisted through macOS 15 Sequoia in 2024.
That long history matters because it makes the Desktop the most reliable first stop. If you haven't intentionally changed anything, your screenshot is probably there.
What the file usually looks like
macOS doesn't name screenshots randomly. The default pattern is:
- Screenshot [YYYY-MM-DD] at [HH.MM.SS].png
- Example shape only, not a literal file name. Screenshot 2026-06-27 at 14.08.11.png
- The format is usually PNG
That naming pattern helps when your Desktop is crowded. Instead of scanning every icon, switch your Desktop to list view in Finder or sort files by date and look for filenames beginning with Screenshot.
Practical rule: If you took the screenshot in the last few minutes, sort your Desktop by “Date Modified” and look at the newest files first.
The fastest way to check
If the Desktop is hidden behind other windows, don't overthink it. Try this:
- Click the Desktop wallpaper once so Finder becomes active.
- Press Command + F3 if your keyboard settings support showing the Desktop, or manually minimize open windows.
- Look for a file whose name begins with Screenshot.
- If you still don't see it, open a Finder window and click Desktop in the sidebar.
A lot of “missing screenshot” problems aren't technical at all. The file is there, but it blends into a pile of downloads, documents, and old image files.
Why people think it vanished
The most common confusion is simple. People expect screenshots to land in Photos, Downloads, or a special Screenshots folder automatically. On a Mac, that usually doesn't happen unless someone changed the save location. If you've never touched that setting, assume the Desktop until proven otherwise.
Using Finder and Spotlight to Hunt Down Any Screenshot
When the Desktop comes up empty, search beats guessing. Start with Spotlight because it's quick, then move to Finder for the more reliable method.

Start with Spotlight
Press Command + Space and type:
- Screenshot
- part of the date
- part of the time if you remember when you captured it
Spotlight is handy when you know the screenshot was saved as a file and you remember roughly when you created it. It's less helpful when screenshots are scattered across folders and you don't know the filename.
The Finder search that actually flushes them all out
If you want the most dependable answer to where do I find my screenshots on Mac, use Finder search with this exact string:
kMDItemIsScreenCapture:1
According to Setapp's explanation of where screenshots go on Mac, using the Finder search string kMDItemIsScreenCapture:1 retrieves 100% of all screenshots across the boot drive regardless of destination, with zero false negatives.
That's the closest thing to a no-drama fix.
How to use it
- Open Finder.
- Press Command + F to start a new search.
- Make sure you're searching This Mac, not just the current folder.
- Paste or type kMDItemIsScreenCapture:1
- Press Return
Finder will show screenshot files even if they're in Desktop, Downloads, Documents, or some folder you forgot you created six months ago.
If a screenshot exists as a file on your Mac's boot drive, this search is the one I trust most.
A simple comparison
| Method | Best when | Limitation |
|---|---|---|
| Spotlight | You remember the name or timing | Can be less precise |
| Finder with kMDItemIsScreenCapture:1 | You want every screenshot file | Looks technical, but works better |
If you find the file in an unexpected folder, that's your clue that the save location changed at some point. At that stage, don't keep searching every time. Fix the save location once.
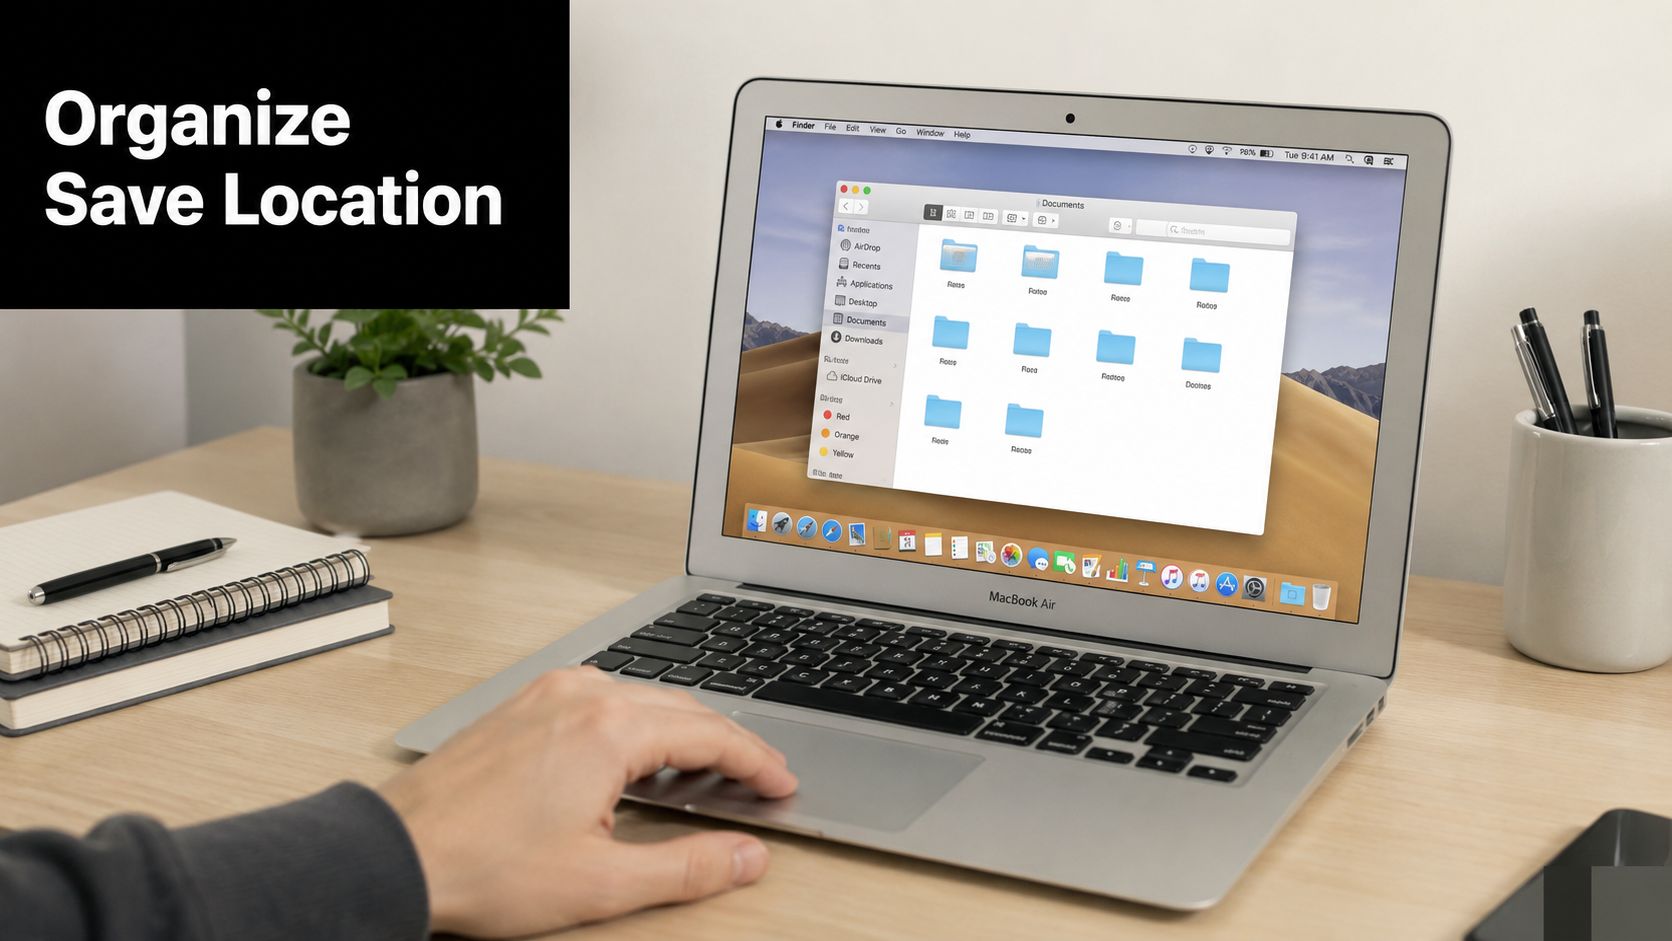
How to Change Where Your Mac Screenshots Are Saved
If your Desktop is turning into a screenshot graveyard, change the save location and make your Mac put new captures somewhere sensible. A dedicated Screenshots folder inside Documents is usually easier to live with than a busy Desktop.
Use the screenshot toolbar on modern macOS
Starting with macOS 10.12 Sierra, Apple introduced the Command+Shift+5 screenshot toolbar, which lets you change the default save location to folders like Documents, Downloads, Clipboard, or a custom folder, as shown in this walkthrough of the Mac screenshot toolbar.
On a current Mac, this is the cleanest method.
- Press Command + Shift + 5
- Click Options
- Under Save to, choose:
- Desktop if you want the default back
- Documents or Downloads if that suits your workflow
- Other Location to pick a custom folder
- Take a screenshot after changing the setting
That last step matters more than people think. I'll get into the reason in the troubleshooting section, but the short version is this. Don't close the toolbar and assume the setting is done. Take one capture right away.
Best practice: Create a folder called Screenshots first, then point the screenshot tool there so every new file lands in one predictable place.
A small, practical trade-off. Saving to Desktop makes screenshots visible immediately. Saving to a dedicated folder keeps your workspace cleaner, but you need to remember where that folder lives.
Use Terminal on older Macs or when the toolbar fails
If your Mac is on an older version of macOS, or the graphical toolbar isn't available, Terminal can change the location directly.
Use:
- defaults write com.apple.screencapture location
- then the path to your chosen folder
- then run killall SystemUIServer
Older technical guidance has noted that people often miss the killall SystemUIServer step, which is why the change seems broken even when the command itself was correct.
Here's the practical downside. Terminal is powerful, but it's less forgiving. If you mistype the folder path, your save location won't behave the way you expect. On modern macOS, using the toolbar is generally safer.
A visual walkthrough helps if you want to see the process in motion:
What works better in real life
Use this rule of thumb:
- Choose the toolbar if you want the simplest setup and you're on a newer Mac.
- Choose Terminal if you're on an older system or you need direct control.
- Avoid half-finishing the change. That's where most confusion starts.
A screenshot system only feels organized if it stays consistent. One folder, one habit, and a quick test capture after any change usually solves the problem for good.
Troubleshooting Missing Screenshots and iCloud Sync
If you changed the location and your screenshots still seem to ignore you, the assumption that “I already changed the setting” may be the problem. On Mac, that isn't always enough.
The setting may not have stuck yet
A known issue is that changing the location through Command+Shift+5 doesn't reliably apply to the older shortcuts until you trigger a manual capture from that interface. In this Apple Support Community discussion about screenshot location problems, users report “missing” screenshots because they selected a new folder but never clicked Capture, so the system kept behaving as if the old location were still active.
That's why screenshots may keep landing on the Desktop even after you picked Downloads or another folder.
Try this checklist:
- Open the toolbar again: Press Command + Shift + 5
- Re-select your folder: Choose the desired location under Options
- Complete one capture: Click Capture from the toolbar
- Test an old shortcut: Then use Command + Shift + 3 or Command + Shift + 4 and see where the file goes
Don't trust the menu selection alone. Trust the result of a fresh test screenshot.
iCloud can make a local file feel missing
The second source of confusion is iCloud. If you use Desktop & Documents Folders sync, the screenshot may still be in your Desktop folder, but that folder may be syncing through iCloud Drive. On some Macs, that makes the file feel like it moved, especially if you switch devices or if local storage gets optimized.
If that sounds familiar, check your iCloud setup and synced folder behavior in this guide to iCloud sync tips and troubleshooting.
A few practical signs point to iCloud involvement:
- The Desktop looks different on another device
- Files show cloud download indicators
- A screenshot appears after a short delay
- You find it in iCloud Drive's Desktop area instead of where you expected locally
This isn't your Mac losing files. It's your Mac treating Desktop as part of a synced system. Once you know that, the behavior makes more sense.
Organizing Screenshots for Your Recipe Collection
Finding a screenshot is one thing. Doing something useful with it is where the habit pays off.
A common example is recipe saving. You're watching a short cooking video, the ingredients flash by, and you grab a screenshot before the post disappears under the next dozen clips. That works well in the moment, but only if you move that image out of random-file limbo later.
A recipe screenshot workflow that actually holds up
A simple routine works best:
- Take the screenshot when the ingredient list or method is visible.
- Save it somewhere predictable, ideally the folder you already set for screenshots.
- Rename it if the default filename won't help later.
- Move it into your recipe workflow while it's still fresh.
That last step is often skipped. They save the image, promise themselves they'll sort it later, and then it disappears into a pile of unrelated screen captures.
If you want to turn screenshot recipes into something usable, this guide on saving recipes from photos shows the workflow for pulling recipe images into a more structured collection.
What makes screenshots useful instead of messy
The screenshot itself is rarely the final format you want. It's a capture method. Good for speed, not great for long-term browsing unless you sort it.
That's especially true with recipe content because the original source may disappear, the caption may get edited, or the post may be hard to find again. A screenshot gives you a stable copy. Organizing it right after capture keeps it from becoming just another image named with a timestamp.
A screenshot is best used as a bridge. It helps you catch information now, then file it somewhere you'll actually check later.
Frequently Asked Questions About Mac Screenshots
A few screenshot questions come up all the time, even after you've found the file and fixed the save location.
Can I save screenshots as JPG instead of PNG
Yes, but not from the usual shortcut menu alone on every setup. macOS commonly saves screenshots as PNG, which is useful for clarity and text readability. If you need smaller files, JPG can make sense.
If you want a broader walkthrough of taking screenshots on Mac, including common capture methods, that guide is a helpful companion for the basics.
For users who regularly digitize printed material, scanned recipe cards, or older photos on a Mac, this article on a photo scanner for Macs is also useful context because file format choices affect how readable and manageable those images stay.
Which shortcut captures part of the screen or one window
Use these shortcuts:
- Command + Shift + 3 captures the full screen
- Command + Shift + 4 lets you drag over a selected area
- Command + Shift + 4, then Space lets you capture a single window
The selected-area shortcut is usually the most practical. It cuts out menu bars, distractions, and private notifications you didn't mean to include.
What happens if I send a screenshot to the clipboard
When you send a screenshot to the Clipboard, your Mac doesn't save it as a normal file in the place you'd expect. Instead, it holds the image temporarily so you can paste it into another app, such as Mail, Notes, Preview, or a message window.
That's useful when you don't want another file sitting on your Desktop. It's not useful when you expect to come back later and browse for the image in Finder. If you need a reusable file, save the screenshot normally instead of relying on the clipboard.
If you save recipe screenshots, cookbook snaps, or handwritten family cards and want them to become part of a real, searchable collection, OrganizEat gives those images a more permanent home than a folder full of timestamped PNGs. It's a practical next step when your Mac screenshots are only the beginning of how you collect recipes.