
You probably have them in three places right now. A binder with magazine clippings. A cookbook with sticky notes hanging out of the top. A small pile of handwritten recipe cards with oil spots, faded ink, and one family favorite you're almost afraid to touch.
That mess is exactly why so many home cooks try to use iPhone as scanner in the first place. Not for office paperwork, but for real kitchen life. A banana bread card from grandma. A soup recipe scribbled on the back of junk mail. A cookbook page that never stays flat on the counter.
The good news is that your iPhone already has the tools to handle most of this. The better news is that with a few small adjustments, you can get cleaner recipe scans, fewer frustrating retakes, and a workflow that makes those recipes usable again.
Table of Contents
- Your iPhone Is Already a Powerful Scanner
- Scanning with the Notes and Files Apps
- Capturing Text Instantly with Live Text
- Pro Tips for Perfect Recipe Scans
- From Scan to Kitchen The OrganizEat Workflow
- Frequently Asked Questions About iPhone Scanning
Your iPhone Is Already a Powerful Scanner
The scanner you already own is often overlooked because scanning is commonly associated with receipts, contracts, or tax forms. In a kitchen, the need looks different. You want to preserve a stained biscotti recipe without flattening it under a bulky machine. You want a cookbook page on your phone so you can zoom in with flour on your hands. You want that handwritten casserole card to survive another decade.
Apple's built-in scanner has become a normal feature for a huge number of people. The iPhone's built-in document scanning capability, introduced in iOS 11, is used by 78% of iOS users who scan an average of 6 documents per week, and over 1.2 billion devices globally had it enabled by 2023 according to the verified data provided earlier in this article's research set.
That matters because the feature isn't some hidden gimmick. It's stable, quick, and built right into apps you already use.
Practical rule: For clean cookbook pages and printed recipe clippings, the built-in scanner is usually enough. For faded handwriting or unusual layouts, you'll get better results if you scan first and organize second.
Recipes are also different from normal documents because you often care about the original look. A typed lease only needs to be readable. A handwritten pie recipe carries context in the ink, the spacing, the notes in the margin, and the little “add more cinnamon” correction someone made years ago.
That's why a good recipe scanning setup has two jobs:
- Preserve the original: Keep the page or card looking like itself.
- Make it usable: Store it somewhere you can readily find it when dinner is in motion.
- Reduce friction: If scanning feels annoying, you won't keep doing it.
Once you see your iPhone this way, the feature becomes less about scanning documents and more about building a digital recipe box you'll use.
Scanning with the Notes and Files Apps
The two built-in places to use iPhone as scanner are Notes and Files. Both work well. The difference is where you want the finished scan to live.
Using the Notes app
Notes is the easiest choice when you want to scan something quickly and maybe add context around it. That's useful for recipes because you can keep the scan together with notes like “kids liked this,” “double the sauce,” or “works better at lower heat.”
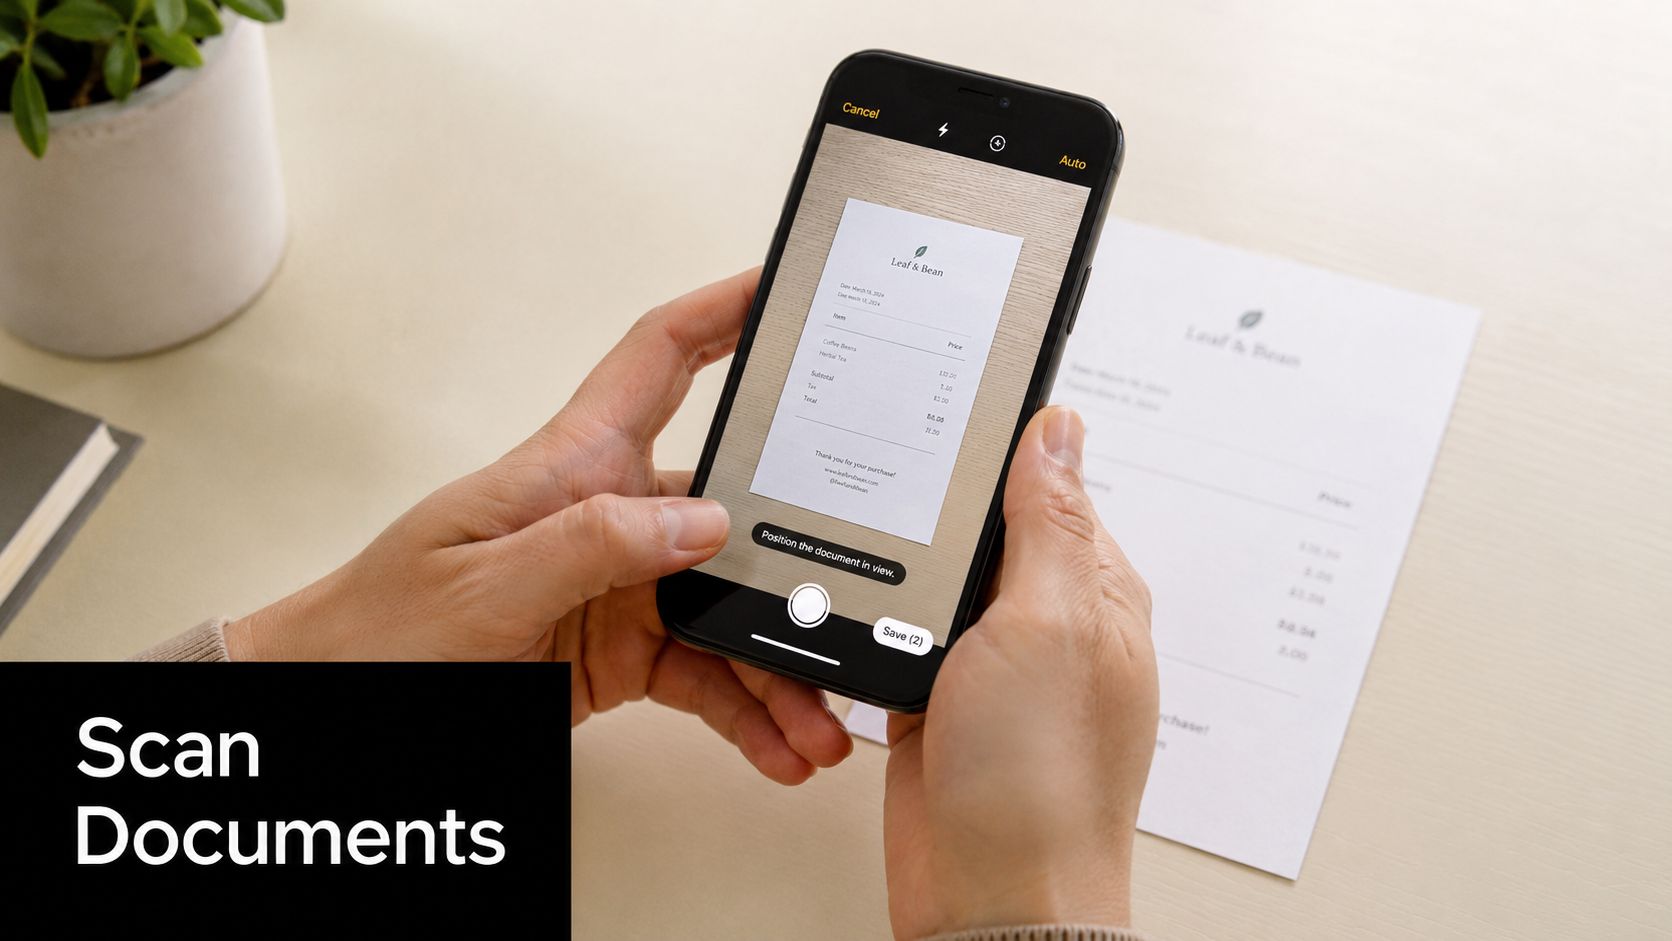
To access the scanner in Notes, tap the Camera icon and select Scan Documents. If the automatic scan fails, you must press the manual Shutter button to capture the image. The result is saved directly into the note as a PDF.
On some devices, the label can look different. To access the native iPhone document scanner without third-party apps, open the Notes app and tap the Attachments button, then select Scan Documents. On iOS 17 and earlier, that button is labeled Camera instead of Attachments, which is why two people can follow the same advice and see different labels on screen.
For recipe scanning in Notes, use this sequence:
- Open a new note for the recipe.
- Tap Camera or Attachments, then Scan Documents.
- Hold the phone steady over the recipe page or card.
- If auto-capture hesitates, tap the Shutter manually.
- Adjust corners before saving if the crop includes table edges or background clutter.
- Save the scan, then add your own note underneath if needed.
A good follow-up move is to save supporting photos too. If you also collect recipe snapshots from your camera roll, this guide on saving recipes from photos is useful for turning random food images into something organized.
Using the Files app
Files is the better choice when you want a standalone document from the start. If you keep recipe PDFs in folders such as “Holiday Baking,” “Italian,” or “Family Cards,” Files feels cleaner than Notes.
The process is similar:
- Open Files and go to the folder where you want the scan to live.
- Tap the More button, then choose Scan Documents.
- Frame the page.
- Let the phone detect it, or press the shutter yourself.
- Save the finished PDF directly into that folder.
Files works especially well when you're building a more deliberate archive. You can name the PDF immediately, move it between folders, and keep it separate from general note-taking.
A short demo helps if you want to see the built-in flow in action.
Notes app vs. Files app which to use for scanning
| Feature | Notes App | Files App |
|---|---|---|
| Best for | Quick recipe capture with comments | Standalone recipe PDFs and folder storage |
| Output | Scan saved inside a note as a PDF | PDF saved directly to a folder |
| Extra context | Easy to add text, checklists, and reminders | Better for file-first organization |
| Good recipe use case | Testing recipes, meal notes, adaptations | Building a digital archive of cookbook pages and cards |
If you're unsure, use Notes for fast capture and Files for long-term filing. That simple split works well for most home cooks.
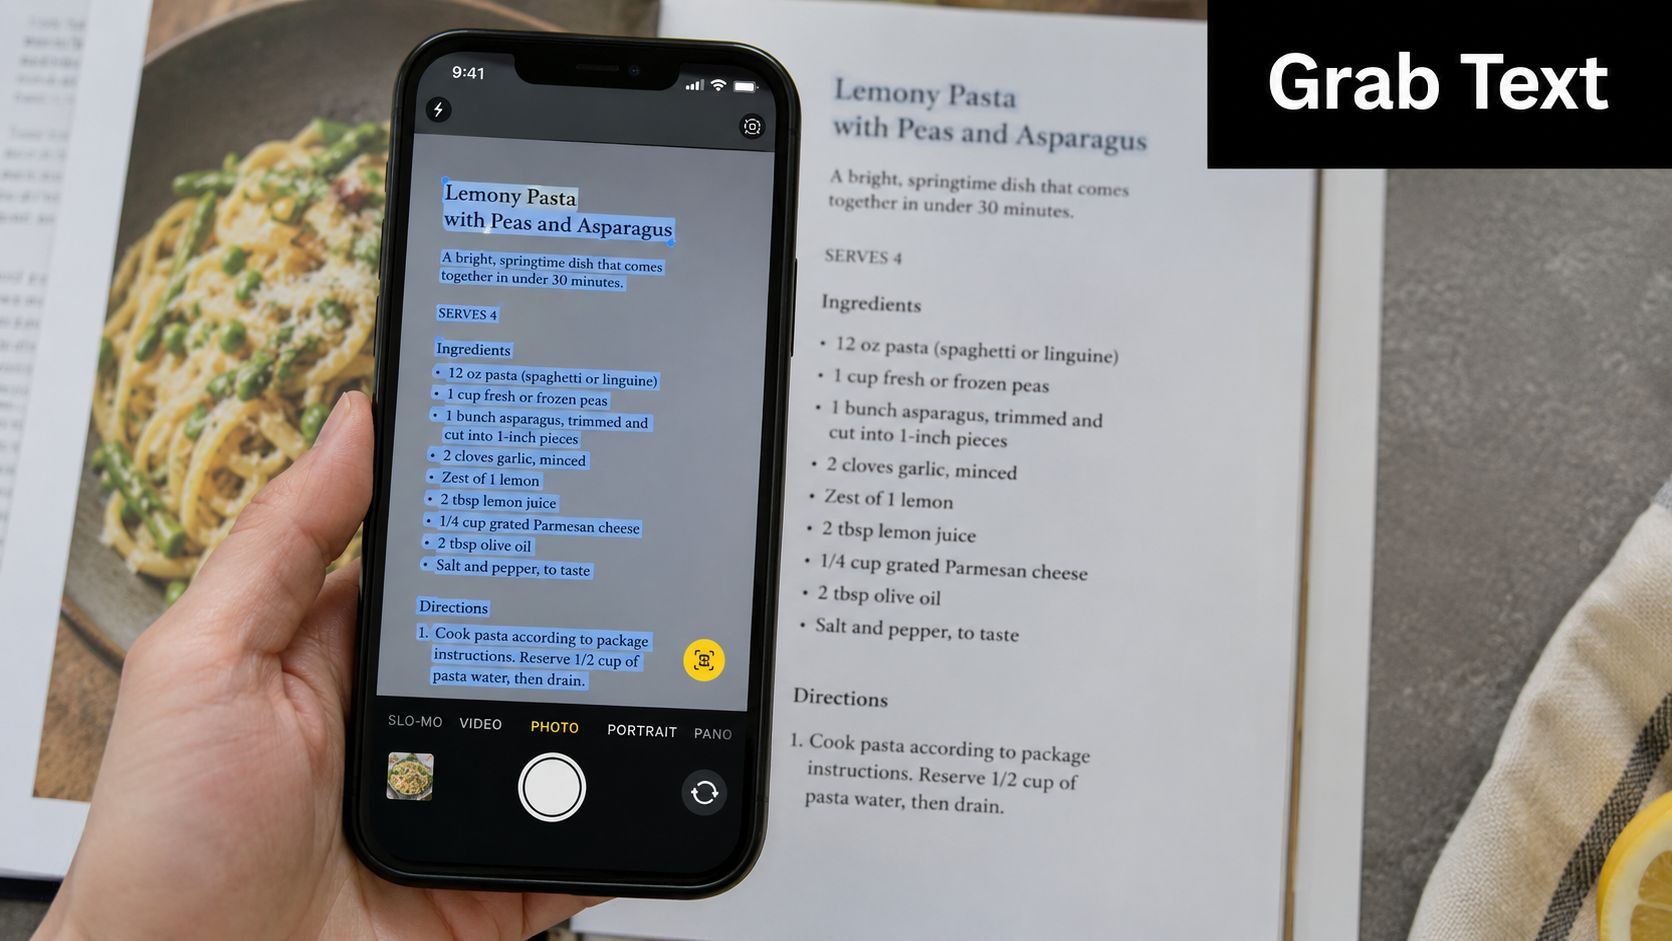
Capturing Text Instantly with Live Text
Not every recipe needs a full scan. Sometimes you only want the ingredient list from a cookbook page, the oven temp from a friend's handwritten note, or the method from a paused cooking video. That's where Live Text is faster.
When Live Text is faster than a full scan
Live Text is the better option when a PDF would be overkill. If you're standing in a friend's kitchen and want to grab only the spice rub from an open cookbook, copying text is faster than making a polished document scan.
It's also handy when you're collecting inspiration from social media. A lot of recipe content lives inside short videos, and a still screenshot often catches motion blur, captions, or interface clutter. In those moments, pausing the frame and pulling only the readable text is often the cleaner move.
Pause the video first, then adjust the frame until the text is as sharp as possible before you try to copy it. A cleaner frame saves editing time later.
A simple workflow for recipes from videos and books
Use this approach when the goal is extraction, not preservation:
- Open the Camera app or a saved photo: Point at the recipe text or open an existing image.
- Wait for text recognition: When the text becomes selectable, tap and drag to highlight what you need.
- Copy only the useful part: Ingredients, timing, or the method. Skip decorative text and clutter.
- Paste into your notes or recipe organizer: This is especially useful for partial saves.
Live Text is great for practical snippets, but it has a trade-off. It doesn't preserve the visual layout the way a scan does. That's why I treat it like a kitchen shortcut, not an archive method.
For old recipe cards, stained newspaper clippings, or annotated cookbook pages, a full scan still gives you a more faithful copy. Live Text shines when speed matters more than appearance.
Pro Tips for Perfect Recipe Scans
Recipe pages are tougher than standard office paper. Cookbook stock is often glossy. Book spines curve inward. Handwritten cards fade. Thin paper picks up shadows from the table underneath. The trick is to control the physical setup before you start fiddling with editing tools.
Use manual capture when the page fights back
Auto mode is convenient, but it isn't always the smartest option. Enabling Manual Shutter mode can increase capture accuracy by 22% for documents with glossy surfaces or complex shadows, which is exactly why it helps with shiny cookbook pages and recipes under kitchen lighting.
If a page keeps triggering too early, waits too long, or crops badly, switch to manual capture. You'll have more control over when the image is taken and where the edges sit.
Glossy pages and overhead lights are a bad combination. Change the angle of the phone first, then switch to manual capture if auto mode still misfires.
The built-in scanning pipeline also depends heavily on contrast. The verified expert benchmark notes a 32% failure rate for thin white paper against light-colored backgrounds. That explains why a white recipe card on a pale quartz counter often scans badly even when the camera itself seems fine.
Fix the setup before you fix the scan
Here are the adjustments that make the biggest difference in real kitchens:
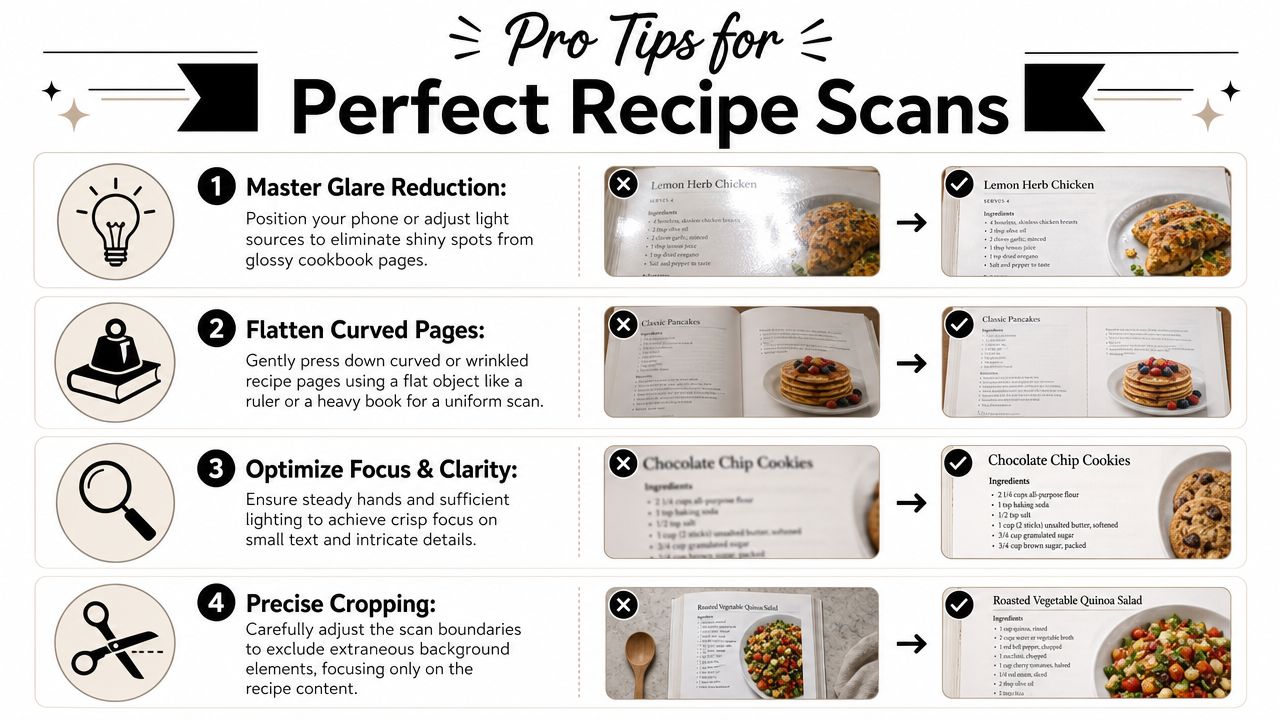
- Use a darker background: If the recipe card is light, place it on a cutting board, dark placemat, or wooden table. Better contrast helps the phone find the page edges.
- Flatten the page gently: For curved cookbook pages, press near the spine or use a clean ruler to hold the page flatter. The camera crops better when the page behaves like a rectangle.
- Avoid steep angles: Holding the phone too far off-axis can create distortion and corner mistakes. Keep the camera as parallel to the page as you can.
- Edit after capture: If the text is faint, try the built-in filters and cropping tools. Black and white often makes old recipe cards easier to read than color does.
If you scan recipes often and want text extraction support beyond the native tools, this overview of apps with built-in OCR for recipes can help you compare your options.
One more practical distinction matters here. A perfect scan isn't always the prettiest scan. For working recipes, readability wins. If a black-and-white filter makes grandma's card less warm-looking but far easier to cook from, that's usually the right trade.
From Scan to Kitchen The OrganizEat Workflow
Scanning is only half the job. A recipe that lives as a random PDF in Notes or Files is still easy to lose when you need it fast on a Tuesday evening.
What to save and what to type
Handwritten and older recipes are where people often hit a wall. Standard mobile scanners struggle with handwritten recipes, often producing over 40% OCR error rates. That's why preserving the image matters. Instead of forcing bad text recognition, saving the recipe as an image and adding searchable tags and notes manually is often the more reliable approach.
That's also where a recipe organizer becomes more useful than a general notes app. The image stays intact, but the recipe becomes easier to sort and retrieve.
A practical recipe workflow
A simple working flow looks like this:
- Scan the recipe on iPhone using Notes, Files, or a clear photo if the card is delicate.
- Save the original image if the handwriting or layout has sentimental value.
- Import it into one recipe system instead of scattering it across albums and notes.
- Add tags that match how you cook: “Weeknight,” “Holiday,” “Dessert,” “Freezer,” “Mom.”
- Add a note with fixes: shorter bake time, less salt, kid-approved, doubles well.
- Use the recipe later from the same place when meal planning or shopping.
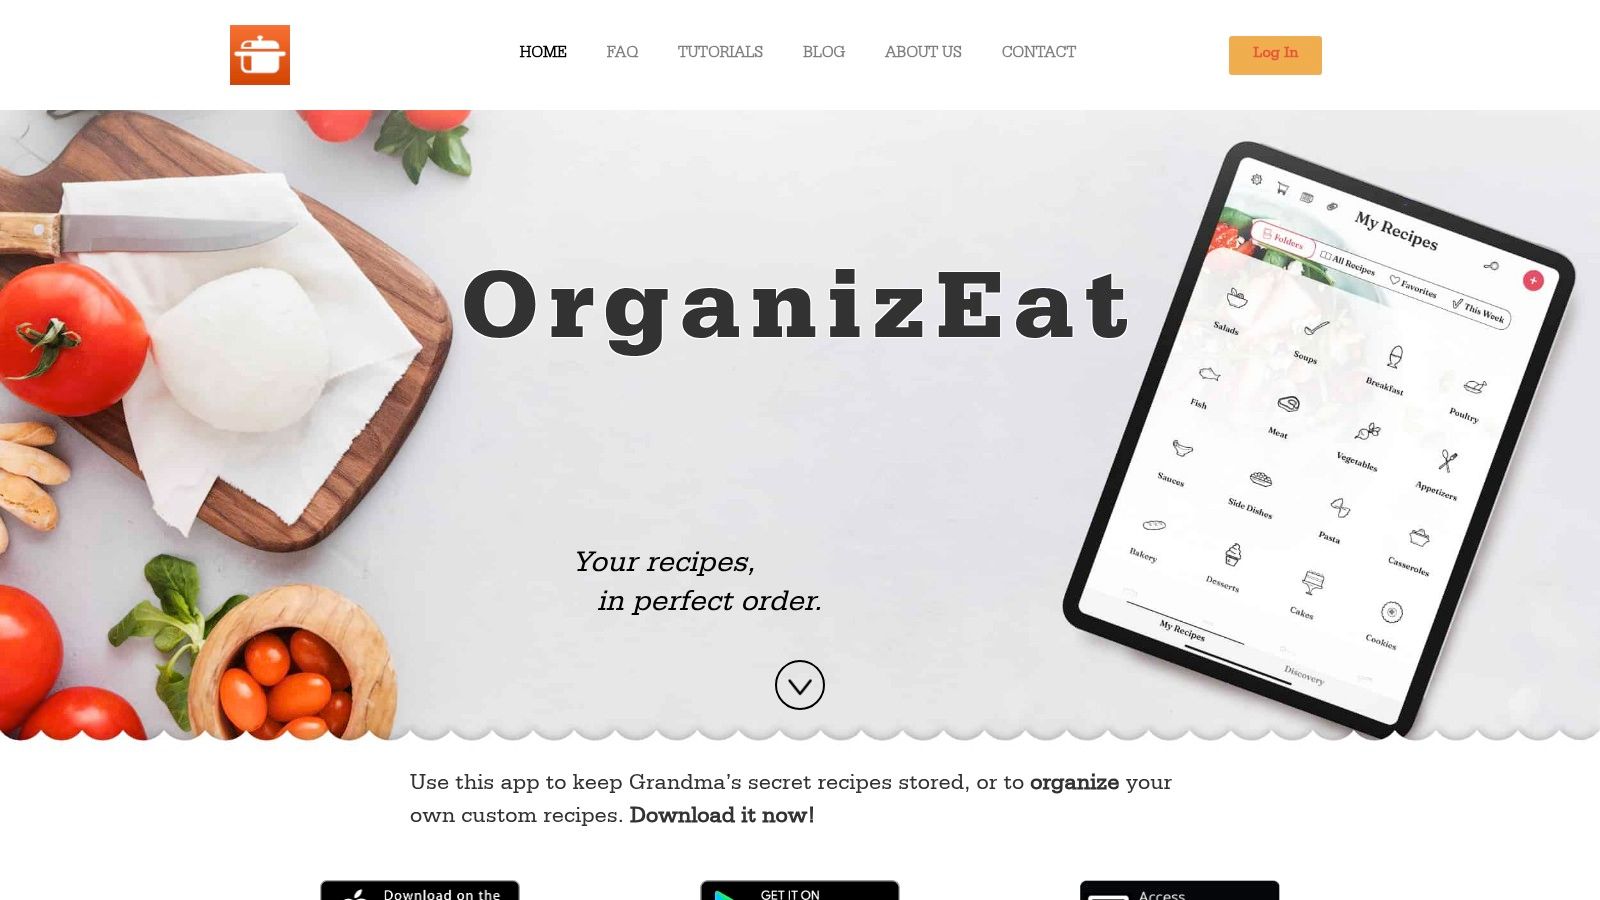
One option is OrganizEat, which lets you import scanned recipe images, keep the original appearance, and add searchable tags and notes manually. If you also move recipes between devices, their guide to a photo scanner workflow for Macs is a useful reference point for mixed-device kitchens.
This kind of workflow works well because it respects two realities at once. Some recipes are data. Others are family objects. The best digital system doesn't force you to choose between readability and memory.
Frequently Asked Questions About iPhone Scanning
Can an iPhone scan a recipe without downloading another app?
Yes. The built-in scanner in Notes and Files handles standard document scanning well, and it's enough for many printed recipes and cookbook pages.
Is PDF always the best format for recipes?
Not always. PDF is better when you want a clean document with multiple pages. An image can be better for handwritten cards, clippings, and anything where the original look matters.
Can the iPhone read handwritten recipes accurately?
Native scanning is strongest with clear printed text. Handwriting, faded ink, and older cards are harder. In those cases, keeping the original image and adding your own tags or notes is often more dependable than relying on automatic text extraction.
What's the quickest cleanup after scanning?
Start with three edits only:
- Crop tighter so the recipe fills the frame.
- Rotate if needed so it reads naturally on screen.
- Try black and white when faded text needs more contrast.
Should I use Notes or Files?
Use Notes when the recipe needs extra context. Use Files when you want a standalone PDF in folders. The better choice is the one you'll keep using.
If your recipe collection is spread across cookbooks, screenshots, handwritten cards, and social posts, OrganizEat gives you one place to store them, tag them, and keep them easy to find when it's time to cook.