
You've got a new iPad on the table, your iPhone in hand, and one very normal question: how do you get the apps you already use onto the bigger screen without making a mess of the setup?
That question sounds simpler than it is. When people say they want to transfer apps from iPhone to iPad, they might mean one of three different things. They might want every familiar app to show up on a brand-new iPad. They might only want a few favorites. Or they might care less about the app icons and more about the data inside them, like notes, recipes, files, saved logins, or game progress.
The right method depends on your situation. A fresh-out-of-the-box iPad calls for a different approach than an iPad you already use every day. And if you skip that distinction, you can end up reinstalling a lot of apps you didn't want, or worse, opening an app on your iPad and finding it empty.
Table of Contents
- Getting Your Favorite Apps onto Your New iPad
- Use Automatic Downloads for Effortless Future Syncing
- Manually Redownload Apps from the App Store
- Migrate Everything with a Backup and Restore
- Ensuring Your App Data Transfers Too
- Troubleshooting and Common Questions
Getting Your Favorite Apps onto Your New iPad
You open a new iPad, sign in, and want the apps you use every day to show up fast. That part is usually easy. The part that trips people up is choosing the right method for the setup they want.
There are really two separate jobs here. One is getting the app itself onto the iPad. The other is getting your app data, logins, saved files, and settings to come with it. A lot of guides blur those together, but they are not the same thing, and that difference determines whether you should use automatic downloads, manual redownloads, or a full backup restore.
A full-device move makes sense if this iPad is meant to mirror your iPhone closely from day one. If you want a cleaner tablet setup with only a handful of familiar apps, redownloading selected apps is usually the better call. If you just want both devices to stay in sync for new app installs from now on, automatic downloads is the lighter option.
That choice matters because an iPad handles apps differently than an iPhone. The same Apple ID can give you access to the same purchases, but your Home Screen layout, folders, and overall setup will not map over in exactly the same way. The larger screen changes how the device organizes things.
Practical rule: Pick your method based on whether you want app access, app data, or a full-device starting point.
For example, if you're adding an iPad alongside your current iPhone, many people are happier keeping the tablet more focused. They install work, reading, note-taking, streaming, and a few utility apps, then leave the rest behind. If you are also comparing hardware options before you buy refurbished iPhones, it helps to plan the pair together so your phone stays portable and your iPad takes the apps that benefit from more screen space.
That is especially true for apps you use differently on a tablet. A calendar, note system, recipe organizer, or planner for iPad often earns a permanent spot on the larger display, even if it started life on your phone.
Use Automatic Downloads for Effortless Future Syncing
Automatic Downloads is the quiet, low-maintenance option. Once it's on, apps you download on your iPhone can also appear on your iPad without you manually searching for them again later.
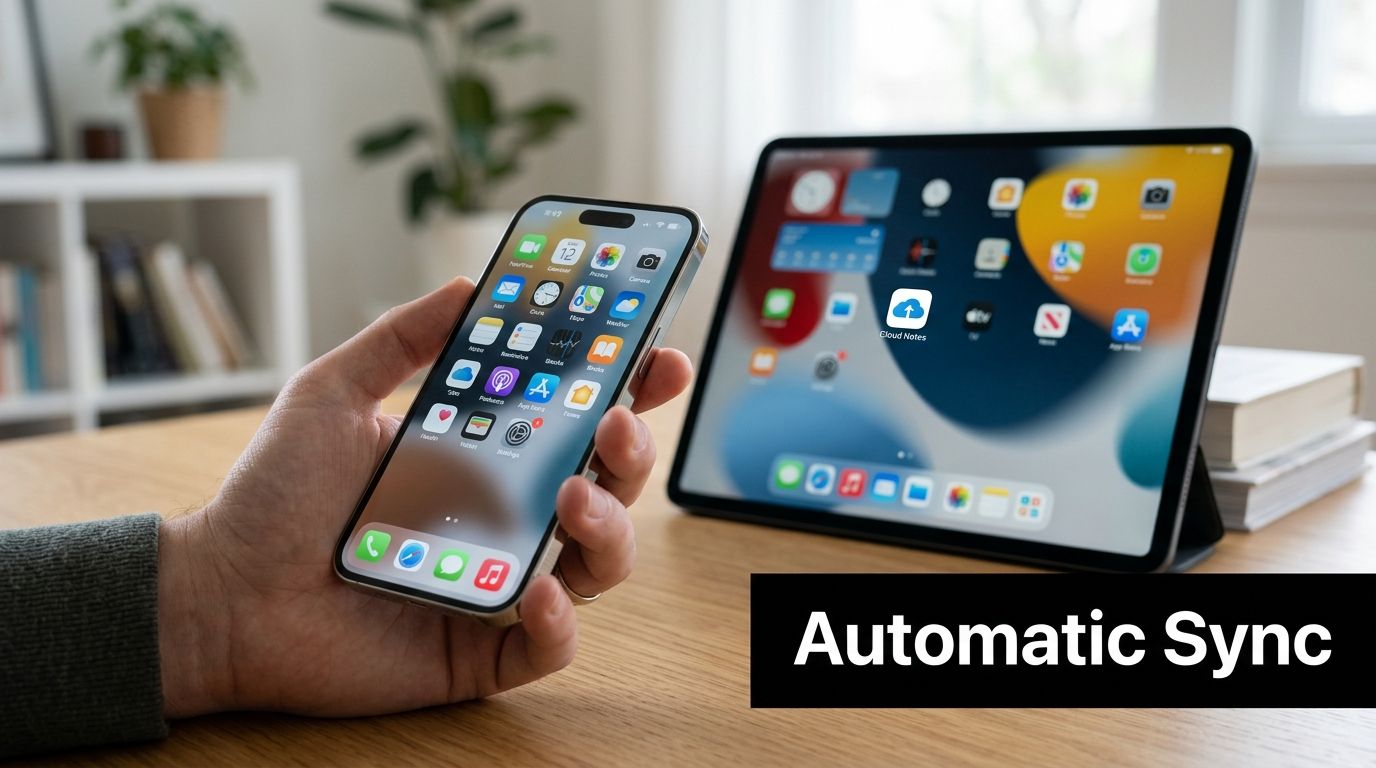
This is the setting I recommend when you use your iPhone and iPad as a pair and want both devices to stay aligned over time. It's not a migration tool for everything you already have installed. It's a forward-looking setup choice.
Turn it on once and leave it alone
On your iPad, open Settings, tap App Store, then look for the Automatic Downloads options. Turn on app downloads, and if you want less maintenance later, turn on app updates too.
If you want matching behavior in both directions, do the same on your iPhone. That way, when you grab a new app on one device, Apple can make it available on the other without extra work.
A simple checklist helps:
- Use the same Apple ID: Automatic Downloads only makes sense if both devices are signed into the same Apple account.
- Enable app downloads: This handles future app purchases and downloads.
- Enable updates too: This keeps versions in step across devices.
- Stay selective if needed: If you don't want every future app mirrored, leave this off and use manual redownload instead.
What it does well and what it doesn't
Automatic Downloads is good at reducing friction later. It's not good at rebuilding an existing library on day one.
That's the part many guides blur together. Turning this on won't suddenly pull over all the apps already sitting on your iPhone. If your iPad is already set up and you want to add older apps from your account history, manual redownload is the cleaner option.
It's a convenience feature, not a catch-up feature.
It also doesn't guarantee that your data appears inside the app. The app might install, but the content inside may still depend on iCloud sync or the app's own account login. If you mainly care about keeping a few shared tools aligned in the future, this setting works well. If you're trying to recreate your old environment right now, use a different method.
Manually Redownload Apps from the App Store
Manual redownload is the best choice when you want control. You don't need every app from your phone on your iPad, and it's often more practical not to install everything anyway. A tablet usually works better when it's set up with intention.
This method is especially useful if your iPad is already in use. You keep your current setup, then add only the apps you want from your Apple account history.
If you're trying to build a focused tablet setup, this approach pairs nicely with choosing category by category. For example, you might first decide which note-taking, reading, and best planner apps free belong on the iPad, instead of importing your whole phone habit-for-habit.
When manual redownload is the smarter choice
This is the right pick when:
- Your iPad already has data on it: You don't want to erase anything.
- You only want certain apps: Streaming, productivity, cooking, and reading apps often make more sense than every utility from your phone.
- You want a cleaner Home Screen: Tablets reward a little curation.
- You're troubleshooting one app at a time: Redownloading individually helps you isolate problems.
The process also forces a useful question: do you really need this app on the iPad? Some apps are great on a phone and awkward on a tablet. Others become much better once they have more space.
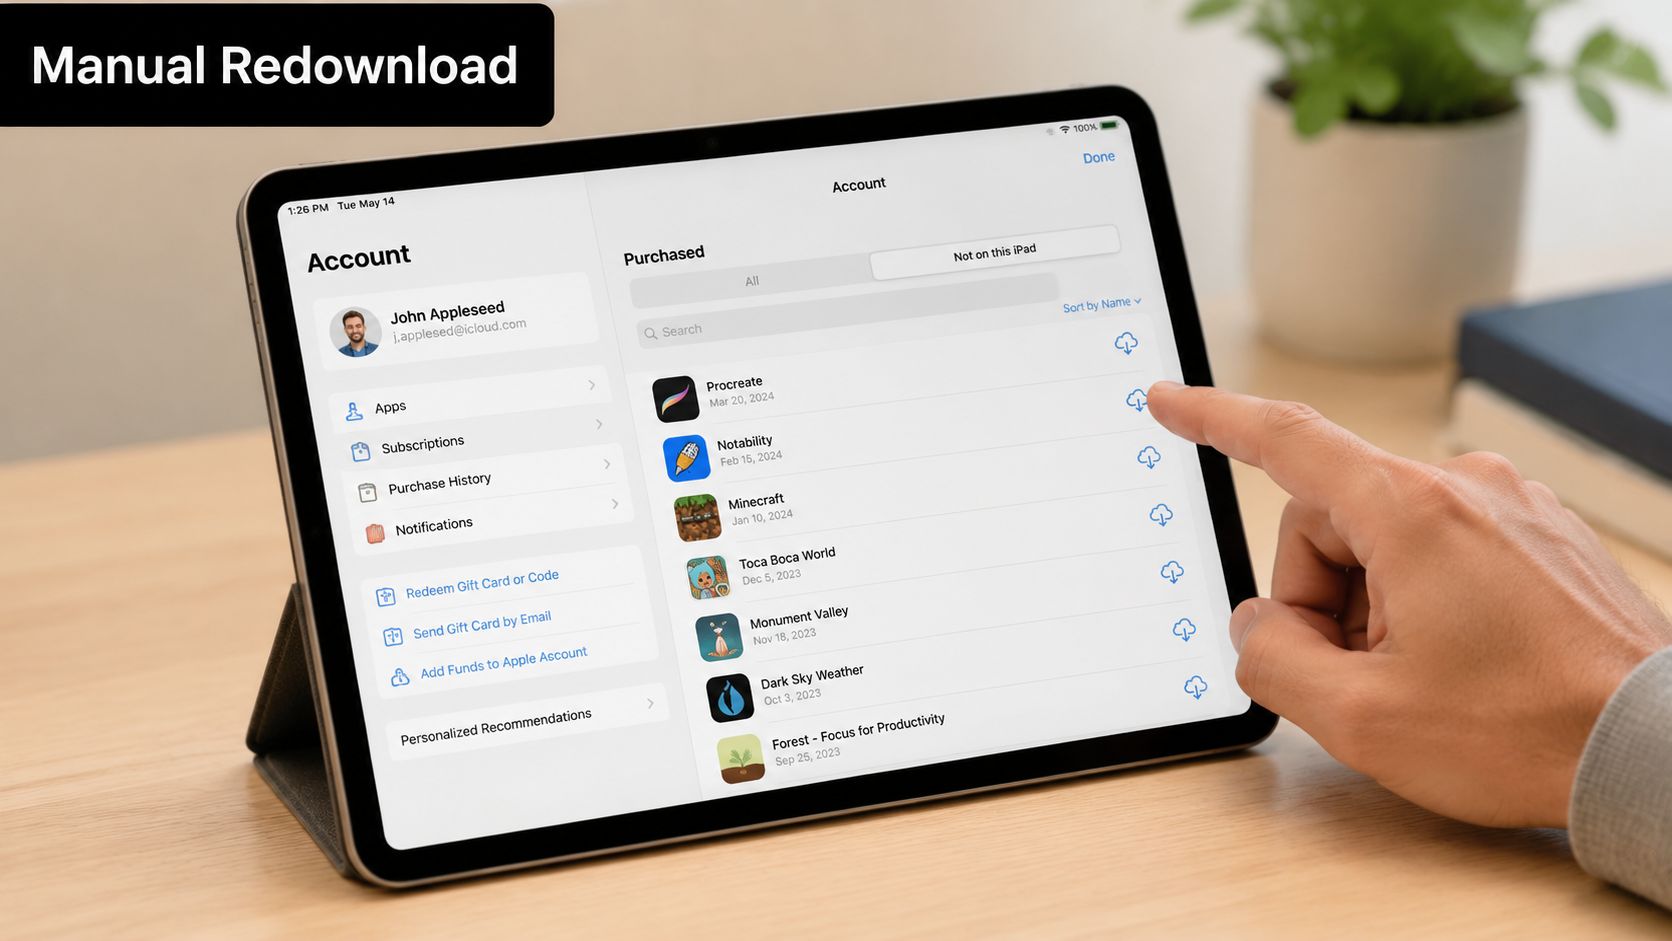
How to pull apps from your purchase history
Open the App Store on your iPad and tap your account picture. Go into your purchased apps area and look for the list that shows apps tied to your Apple ID but not currently on this iPad. Then tap the cloud download icon next to the ones you want.
That gives you an à la carte rebuild without touching the rest of the device.
A few practical notes make this smoother:
- Search your history first. If you've downloaded the app before with the same Apple ID, you usually don't need to buy it again.
- Install in batches. Start with the apps you use weekly, not everything you've ever tried.
- Open each app after download. That's when you'll learn whether the app needs an account sign-in or cloud sync to pull in its data.
If you want a quick visual walkthrough before tapping around the App Store menus, this short demo helps:
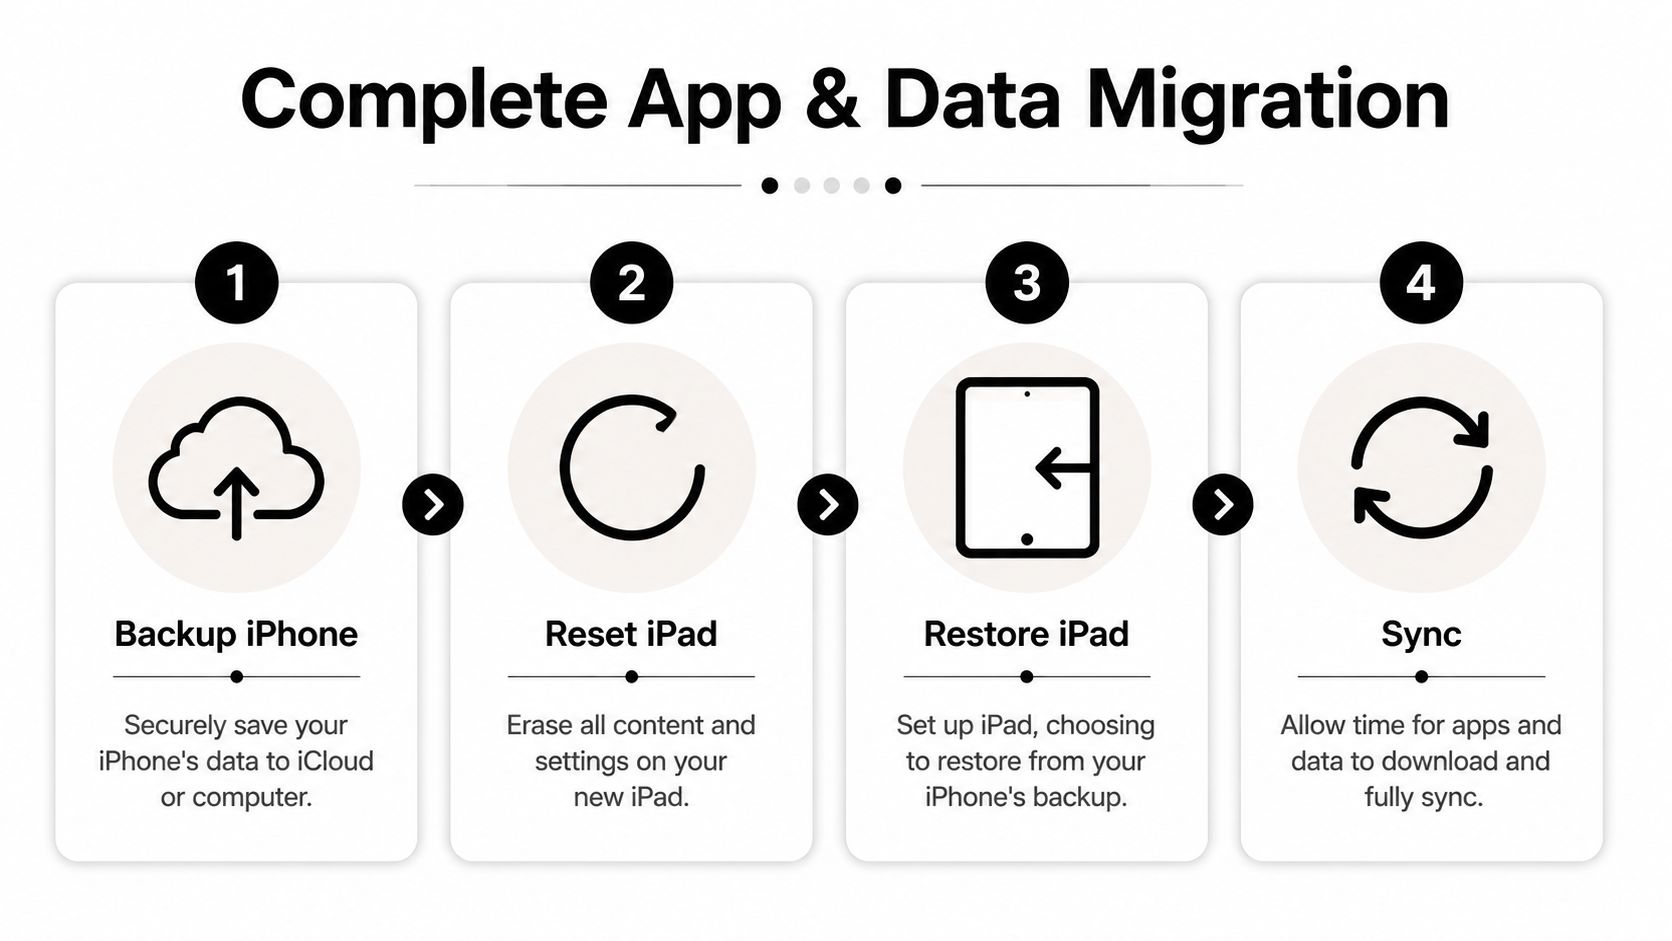
Migrate Everything with a Backup and Restore
You open a new iPad, want it ready fast, and do not want to spend the next hour hunting down apps one by one. Backup and restore is the right fit for that job. It is the closest option to a full-device handoff, especially if you want your app lineup, settings, and general setup to carry over in one pass.
It also helps to be clear about what this method does well. It restores a lot of your device setup. It does not guarantee that every app will open with all of its content already in place, because app installation and app data syncing are related but separate pieces of the move.
Apple's Quick Start method is usually the best place to begin for a new iPad. Apple explains on its Quick Start support page that you can set up a new iPhone or iPad by placing your current device nearby, with Wi-Fi and Bluetooth turned on. Apple also notes that both devices may be unavailable for several minutes during transfer, which matters if you still need to use your iPhone while the iPad is being set up.
Quick Start for a brand-new iPad
Quick Start works best before you have finished setting up the iPad. Put the iPhone near it, follow the prompts, and choose the transfer style that matches your situation.
| Method | Best for | Trade-off |
|---|---|---|
| Download from iCloud | Getting into the iPad quickly while apps and content continue to appear | Some apps and files may keep downloading after the iPad is already usable |
| Direct transfer | Keeping the handoff between the two devices without relying as much on cloud downloads | Both devices stay occupied until the transfer finishes |
That choice matters more than many guides admit.
Use iCloud download if you want the iPad functional as soon as possible and do not mind waiting for some apps, photos, or files to continue loading afterward. Use direct transfer if you want a tighter device-to-device move and can leave both devices alone until it finishes. If you keep important reference files on the iPad, such as manuals or saved forms, it is smart to confirm afterward that your PDF files are actually downloaded on the iPad and not just visible in a cloud list.
Restore from a backup when needed
Quick Start is not your only option. If it is unavailable, or if you erased the iPad and are setting it up again, restoring from an iCloud backup or a computer backup can still save a lot of time compared with rebuilding the device by hand.
The practical rule is simple:
- Use Quick Start if the iPad is new and your iPhone is right there.
- Use iCloud restore if you already back up to iCloud and want the easiest remote option.
- Use a computer backup restore if you already manage backups through a Mac or PC and want to restore from that copy.
I usually recommend backup and restore for people who want continuity, not curation. It is a strong choice for a first pass on a new iPad. It is a weaker choice if your real goal is to clean house, skip old apps, or troubleshoot a single app that has been acting up.
One more trade-off matters. Even after a successful restore, the iPad will not mirror the iPhone screen for screen. Some apps lay out differently on iPad, and the Home Screen may not match the phone exactly because the two devices use space differently.
Ensuring Your App Data Transfers Too
You open the iPad, tap the app you wanted, and it looks empty. That usually means the app transfer worked, but the app data did not come over yet.
That distinction matters more than many setup guides admit. Getting an app onto the iPad is one job. Getting your files, settings, history, and in-app content onto the iPad is a separate job, and the right fix depends on how that specific app stores information.
App installed does not mean data transferred
Some apps store everything inside the app on the device. Others pull content from iCloud, Dropbox, Google Drive, or the app maker's own account system. In practice, that means two apps can be installed the same way and behave completely differently the first time you open them on iPad.
Use this quick check if an app opens like a fresh install:
- Confirm you're using the same Apple ID. This affects App Store access and Apple services such as iCloud.
- Sign into the app itself. Many apps keep your real content behind a separate account login.
- Check the app's sync settings. iCloud Drive, app-specific sync toggles, or cloud storage permissions may be off on one device.
- Give cloud libraries time to load. Large note libraries, document collections, and media-heavy apps may not appear immediately.
The short version is simple. The app icon is not the data.
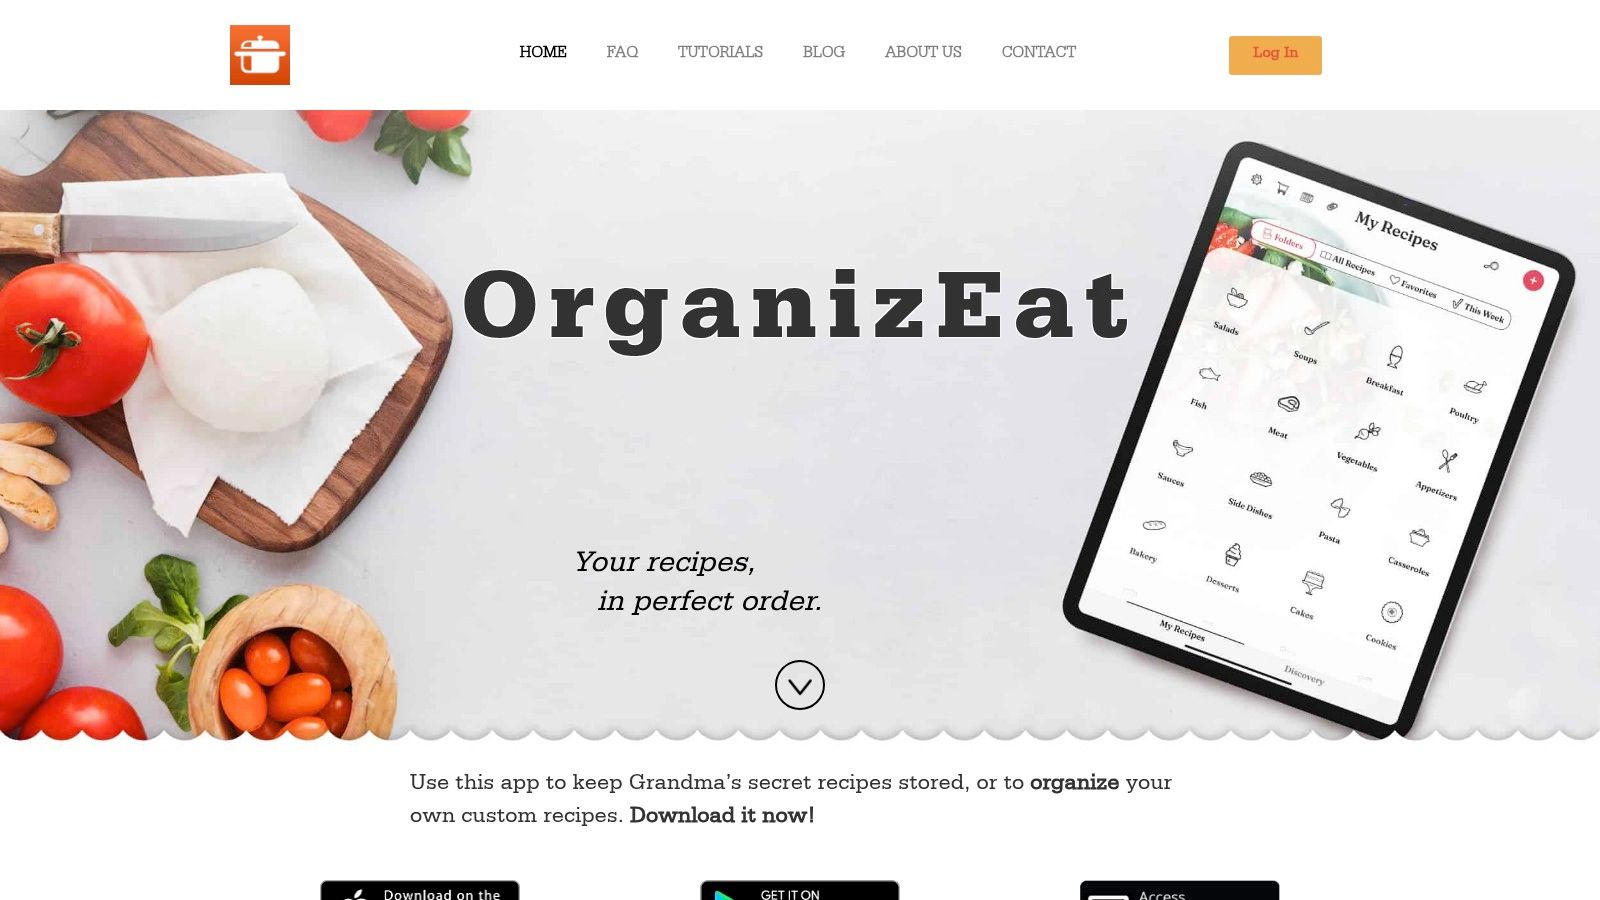
A practical example with a synced app
A recipe app makes this easy to spot. The app can install in seconds, while the actual recipe library appears only after the account sync finishes and local downloads catch up.
The same thing happens with saved files. If you keep manuals, clipped recipes, or kitchen references as PDFs, check that those files are fully local and not just visible from the cloud. This guide on downloading PDF files to iPad for offline access helps with that part.
OrganizEat works in this account-based way. Install the app on both devices, sign into the same account, and then wait for recipes, meal plans, and shopping lists to sync. Reinstalling the app alone does not recreate that library.
My rule of thumb is this. If the app opens empty, do not keep reinstalling it. First figure out where that app's data lives, on-device, in iCloud, or inside the app's own account, then use the matching fix.
Troubleshooting and Common Questions
Most setup problems fall into one of two buckets. The app itself did not transfer, or the app transferred and its content did not show up. That difference matters, because the fix is different.
Why didn't one of my iPhone apps appear on the iPad?
Some iPhone apps are not available for iPad. Others are available, but under a separate listing or a slightly different app name.
Try these checks:
- Search the App Store by developer name. The iPad version may be listed separately.
- Read the compatibility details on the app page. If iPad is not supported, it will not install normally.
- Use Safari as a fallback. Banking tools, internal work apps, and niche services sometimes work better in the browser than in a stretched phone app.
If an app matters to your workflow, check compatibility before you spend time troubleshooting the wrong thing.
Do I have to pay for my apps again?
Usually no. If you are using the same Apple ID, paid apps can usually be downloaded again without a second purchase.
If a price shows up again, check three things: the Apple ID on the iPad, the exact app listing, and whether the developer sells a separate iPad edition. I run into this most often with older apps and pro apps that split phone and tablet versions.
Why doesn't my Home Screen look like my iPhone?
Because iPadOS uses space differently. The same apps can transfer over, but the layout often changes because the grid, widgets, and dock behave differently on iPad.
Do not waste time trying to clone your phone screen exactly. It is faster to group your most-used apps for the larger display and rebuild once.
The app is installed, but my data is missing. What should I do?
Treat that as a data problem, not an install problem.
Go in this order:
- Open the app and sign in with the account you use.
- Check the app's own sync settings or account page.
- Look for a restore, refresh, or download option inside the app.
- Confirm the service you use is the same on both devices. Some apps can store data in iCloud, the vendor's cloud, or only locally.
- Wait a bit for large libraries to load. Notes, media, and document-heavy apps can take time.
Your account is often where the content itself lives. Reinstalling the app rarely fixes missing libraries, purchases, or saved work by itself.
What's the least frustrating method overall?
For a brand-new iPad, restoring from backup or using Apple's setup migration is usually the fastest path if you want the tablet to feel close to your iPhone from day one.
For an iPad you already use, manual redownloading is usually cleaner. You skip old apps you no longer want, and you avoid clutter.
Automatic Downloads is best as a maintenance setting, not as the main migration plan. It helps new app installs stay in sync later, but it does not solve every data or compatibility issue.
If one of the apps you want on both devices is your recipe collection, OrganizEat is built for that kind of cross-device use. Install it on your iPhone and iPad, sign into the same account, and your saved recipes, shopping lists, and meal plans stay available on both screens.